|
For my final, I did a set of snake themed jewelry consisting of 1 bracelet, 1 pair of earrings, and 2 necklaces. I started by sketching out my ideas on paper until I had a design I was happy with.   Then, I built the sketches in fusion 360. Bracelet: Earring:
Necklace: Pendant:
Pendant Here are the final designs animated! Below are 2D final layouts of drawings. Sadly, the jewelry took longer than expected to print and isn't ready right now. I had tried to print the earring a few times on the ultimaker, but many of the pieces were too thin (1) and couldn't hold up until I made them thicker (2). Knowing that the rest of my jewelry was also dainty, I didn't try to prototype all my pieces on the ultimaker. (1)  (2) 
0 Comments
This week I finalized my sketches and made my designs in fusion 360. 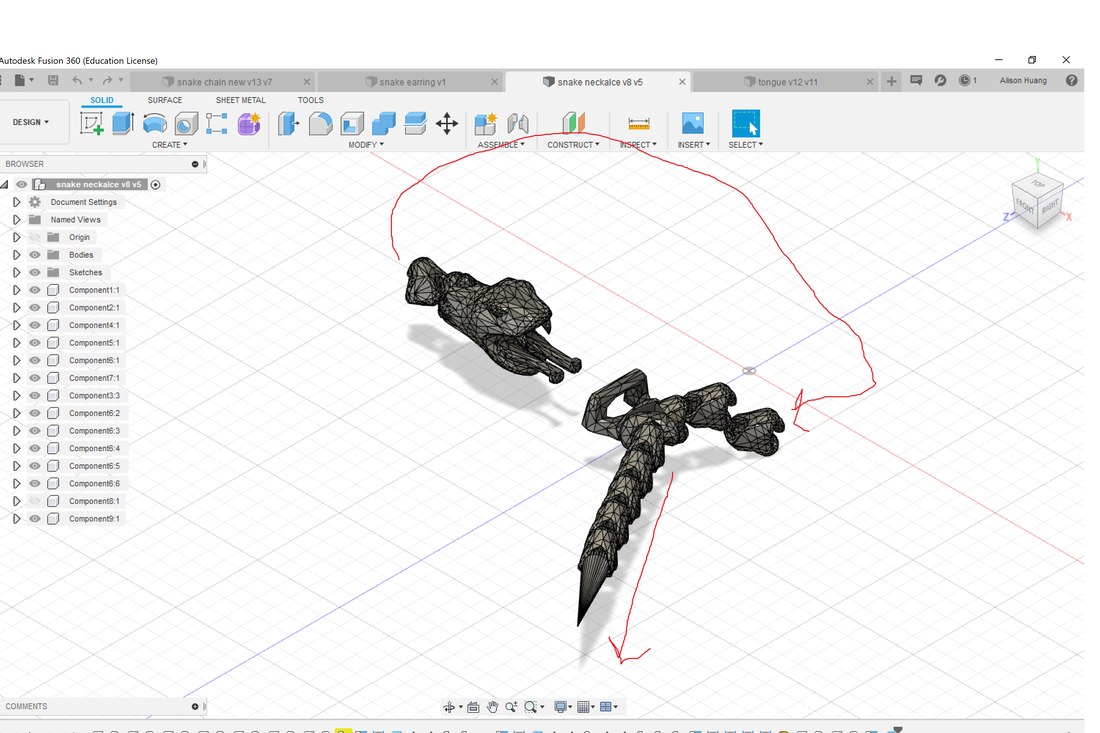 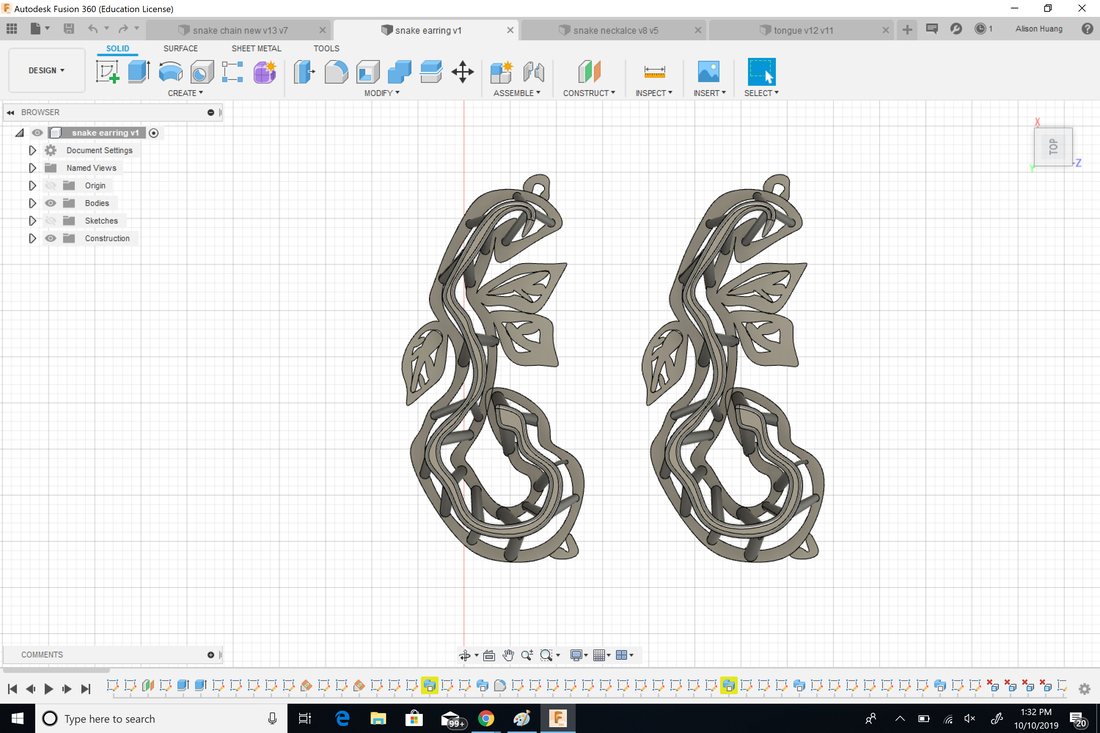 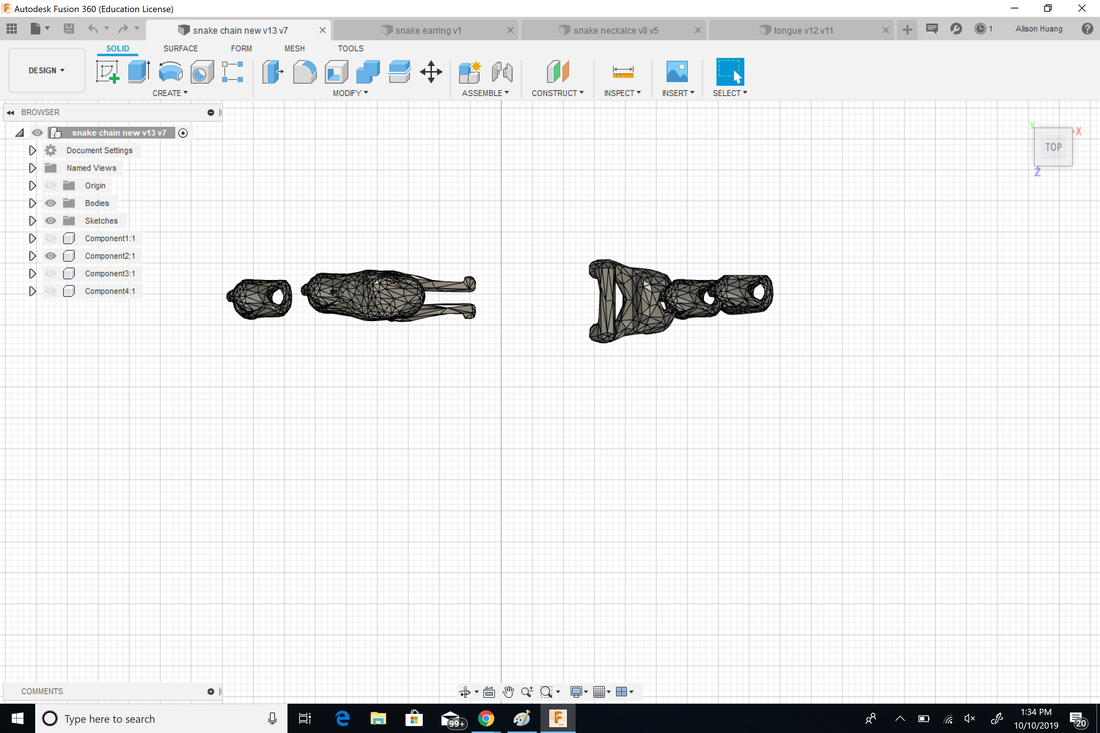 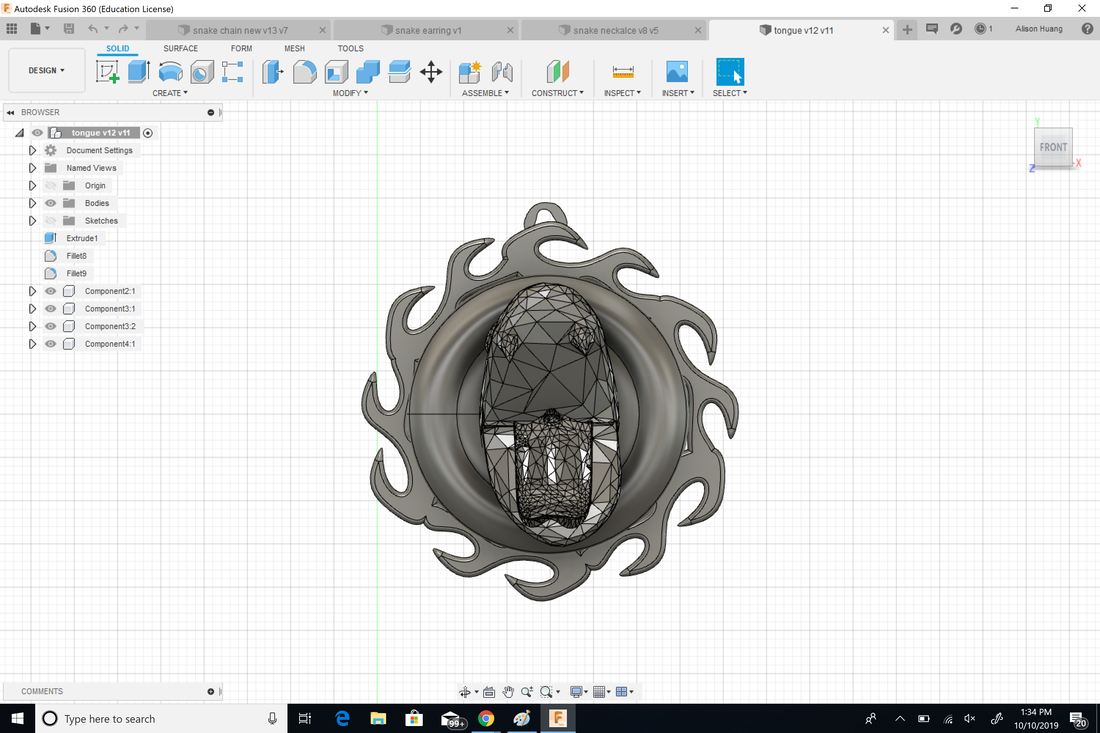 Then, I went to LaGuardia Studio where the person helped me fix up an upload my designs into the wax printer. The total came to $27.87 and 120 hours to print in wax resin. I didn't prototype on the Ultimaker because it's not able to print thin dainty designs.  For my final project, I decided to create a set of snake themed jewelry. I plan on having at least one of each earrings, bracelet, and necklace. I will most likely be using jewelry chains and hooks that I buy on amazon. 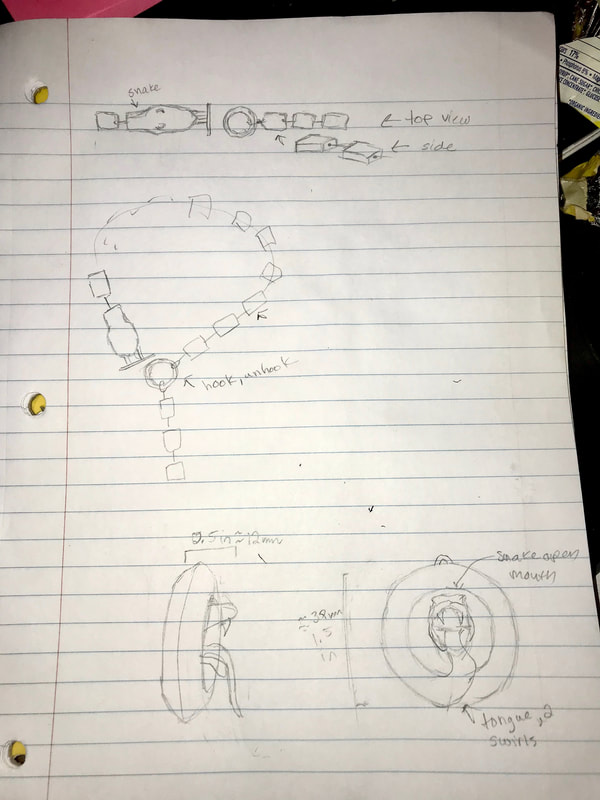 While looking at the 10 principles of design, number 2 stuck out to me. It talks about how "good design makes a product useful" and how it should be not only functional, but also physicologcally and aethetically pleasing. Last week, I made a necklace pendant that just didn't sit right on the neck no matter how many times I readjusted or switch chains. When thinking about what improvements to make, I decided the pendant would be better suited as a pair of earrings. I scaled the pendant down to 60% of its original size making many parts less than 1 mm of thickness. After a failed attempt, I discovered the floor's ultimaker doesn't print designs that delicate but I will be printing these earrings at the Laguardia Studio this week. 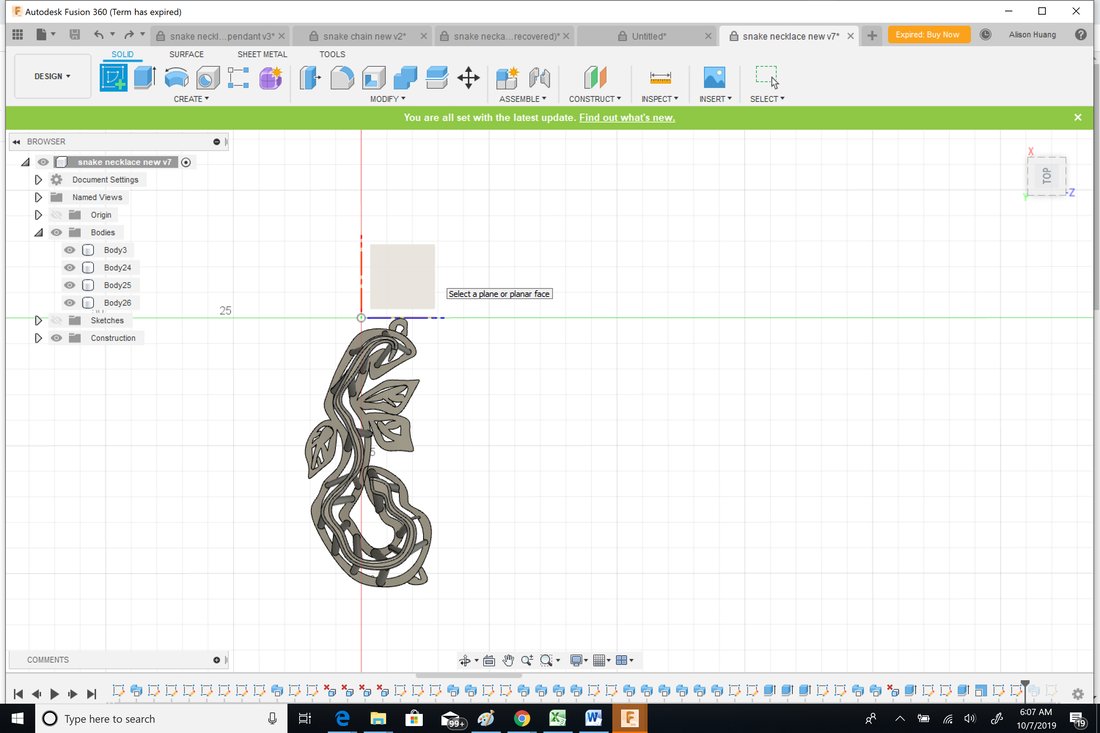 This week I used Autodesk Fusion 360 to create a 360 snake necklace pendant. To connect to the string, the pendant was originally suppose to have two surfaces with holes, but they ended up breaking off both times i printed. In my first printing attempt, I made the mistake of making my necklace too thin (<1 mm) (as shown in black below) , but when I made everything around 2 mm and higher, it worked fine. 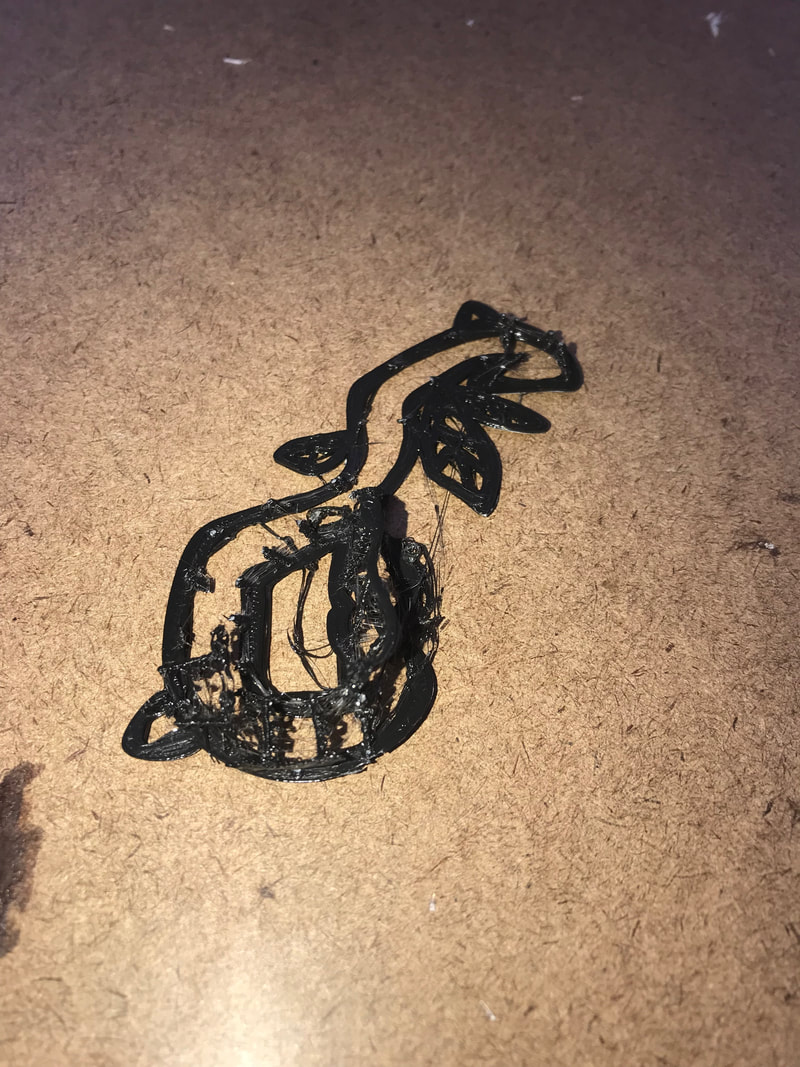 I started out by hand sketching my design then drawing it in fusion. I mostly use the spline tool to draw all the shapes and used the offset plane tool (under construct) to create the surface for the top surface of the pendant. I then used the sweep tool (under create) to connect the 2 planes. 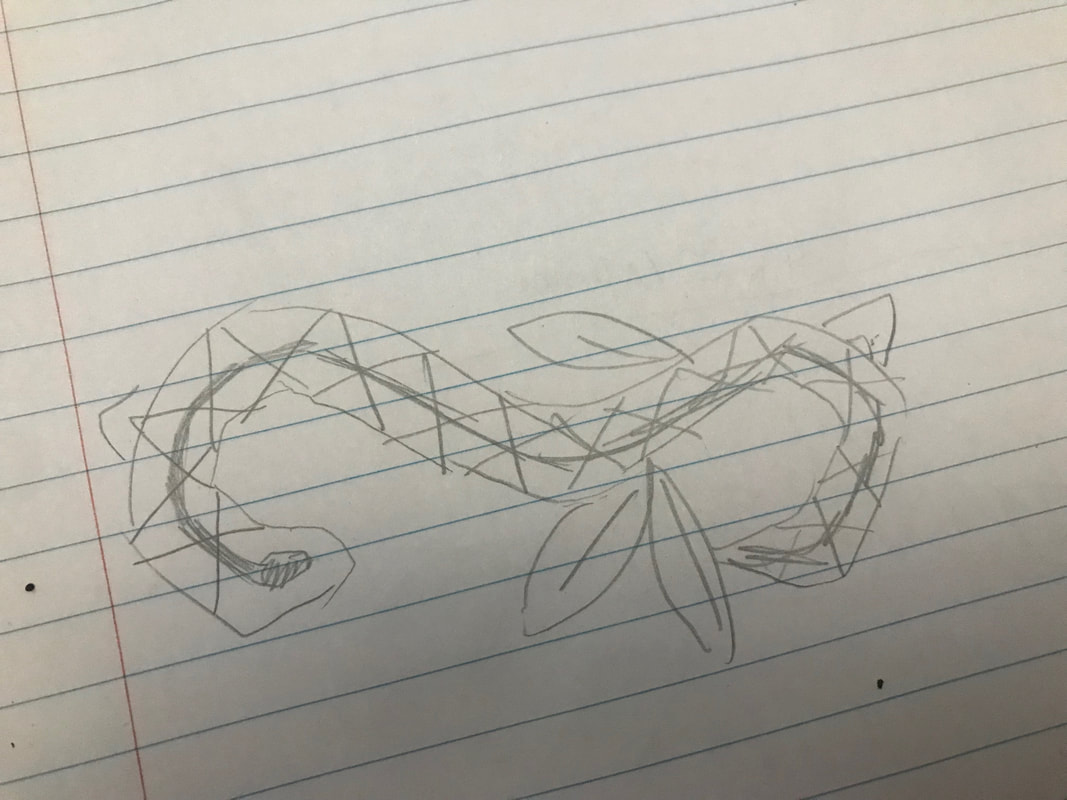 In the original drawings I had x line patterns for stability, but after talking to someone on the floor, I learned about bridging. He told me about how u only need 2 support sticks as long as there is another offset piece it is holding on to. 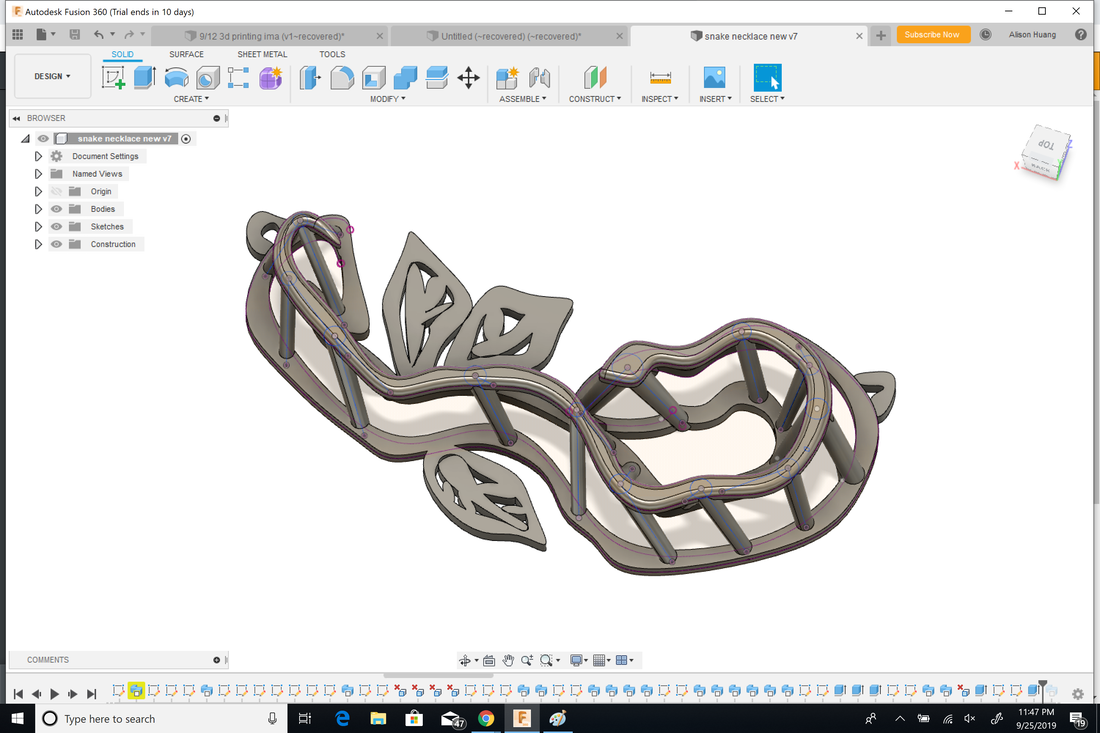 My final result is this snake shaped pendant! I didn't have a necklace string, so I used red wire in the pictures below. 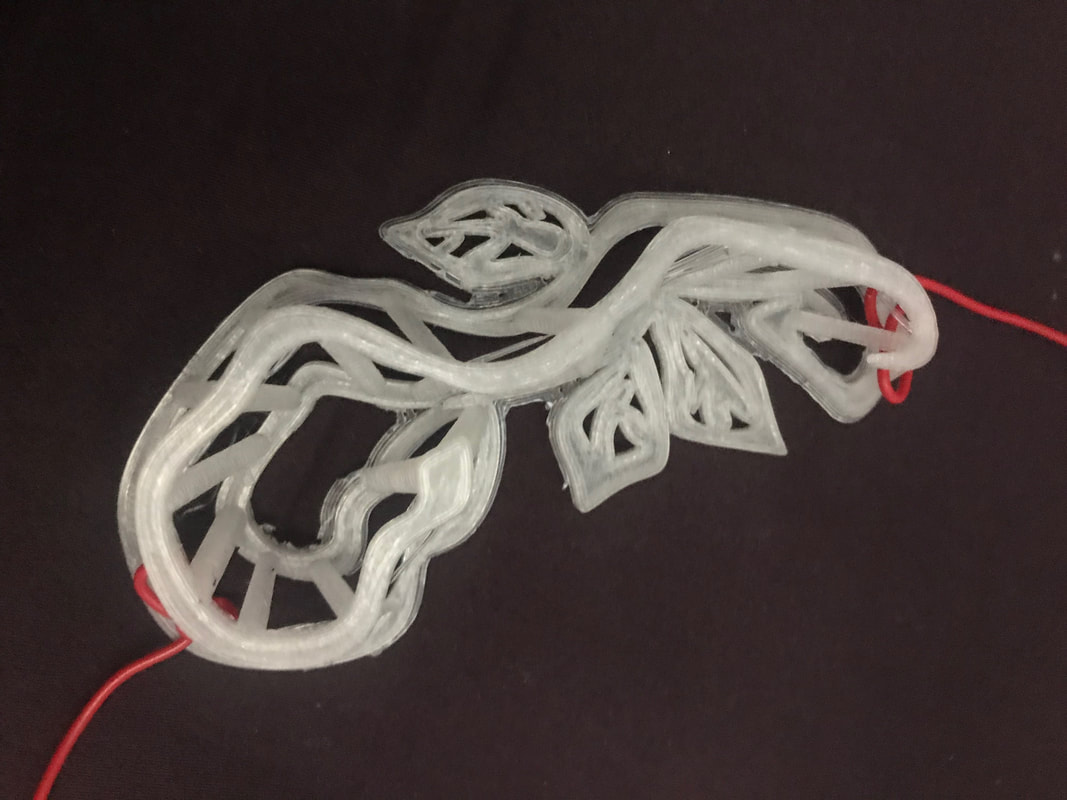 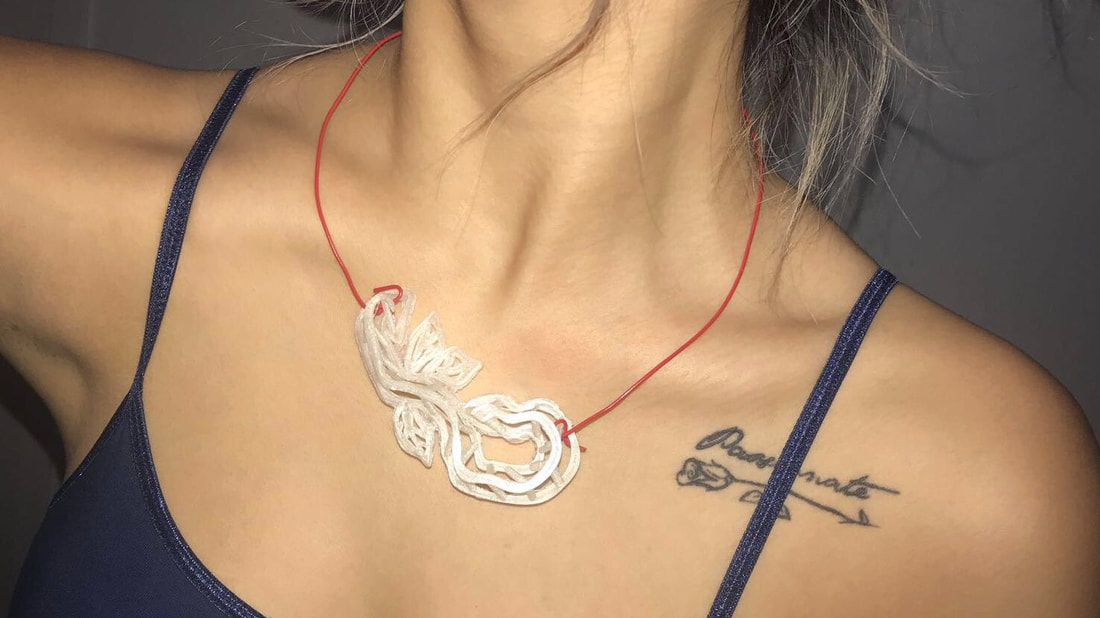 This week I used Autodesk Fusion 360 to model a smartphone and charger. I first started out by sketching my model on paper.  Then, in Fusion, I used a 2 point rectangle to make the part indicted in blue below. I fileted the edges and extruded the shape to make the body of the smartphone. 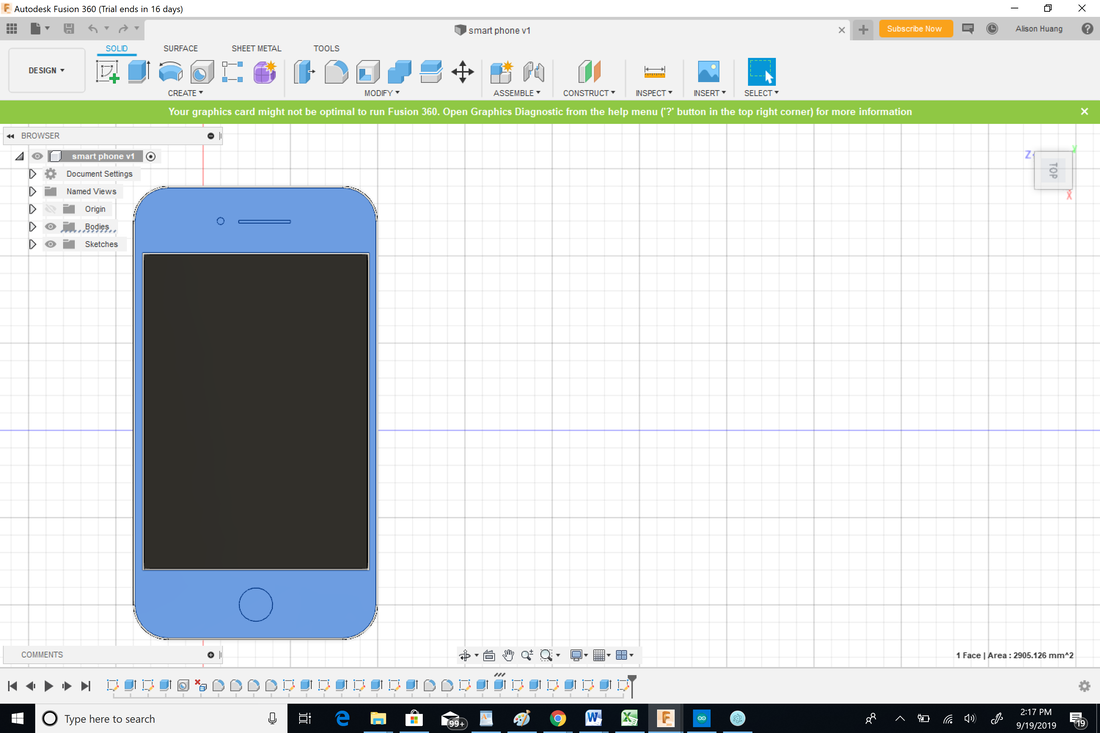 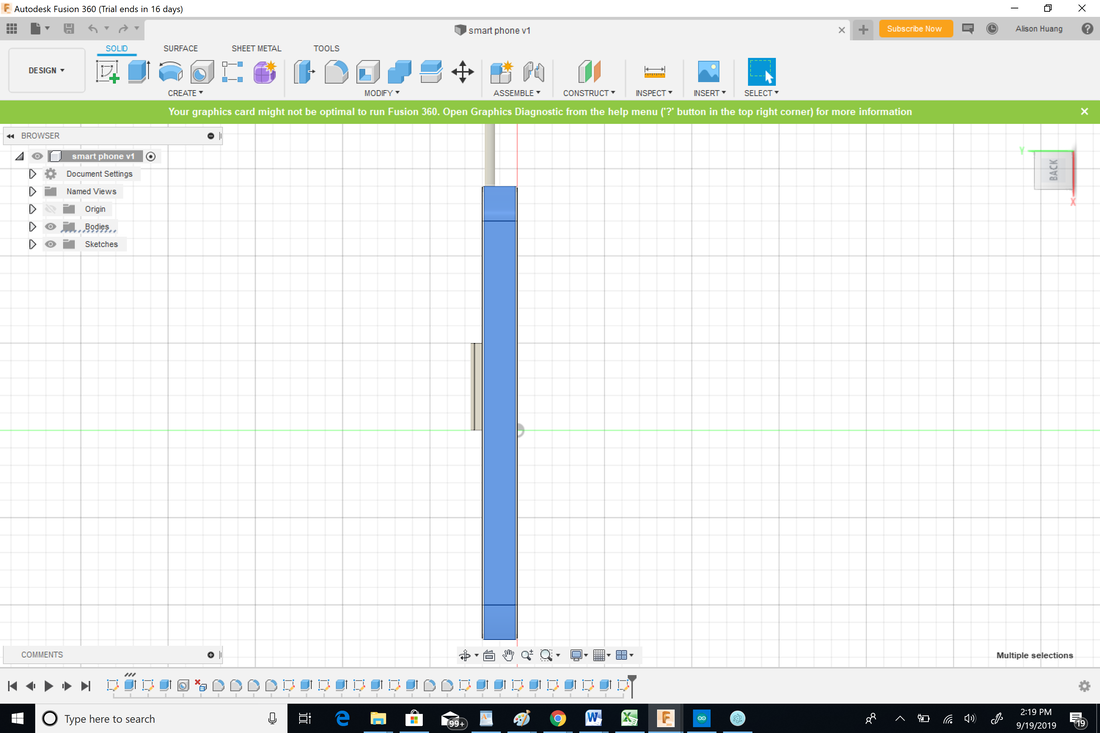 I then used another extruded 2 point rectangle to create the screen part of the phone. 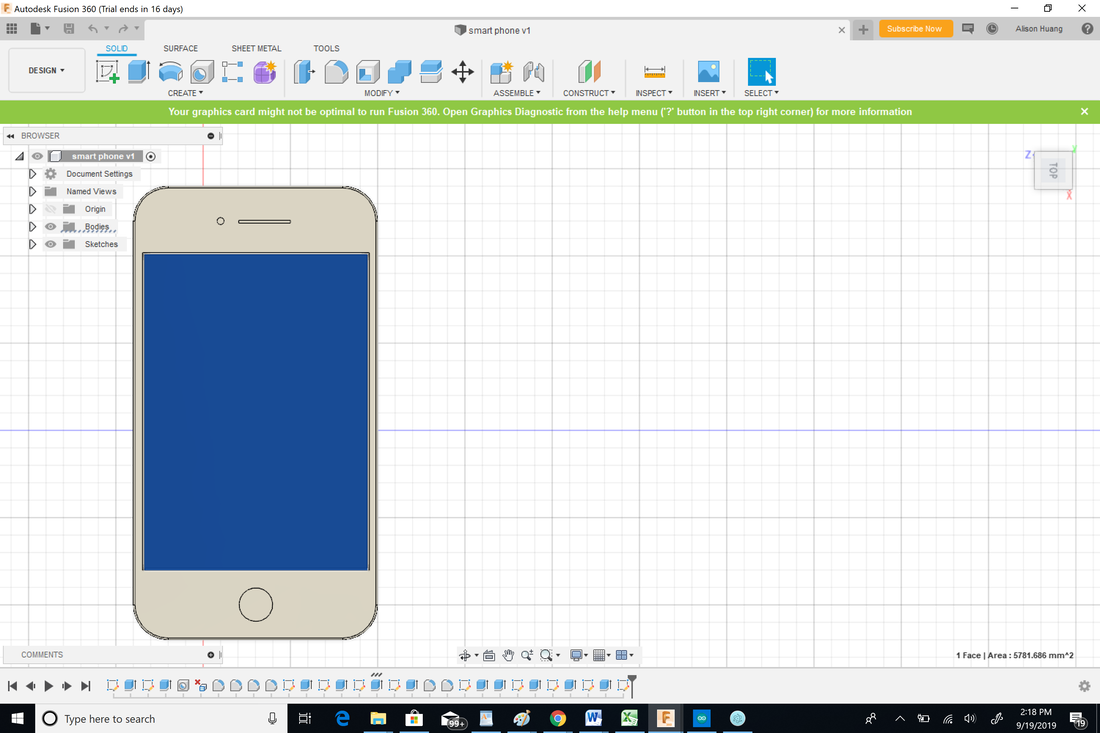 I then drew the details on the body of the phone and extruded them to cut away creating the camera, speaker, and home button. I also made a clear glass shell encasing the phone. The charger may look a little big and that's because I made the mistake of drawing the whole thing on the x axis and not checking my proportions. My charger is made of rectangles, splines, and circles that have been fileted, extruded, and joined. 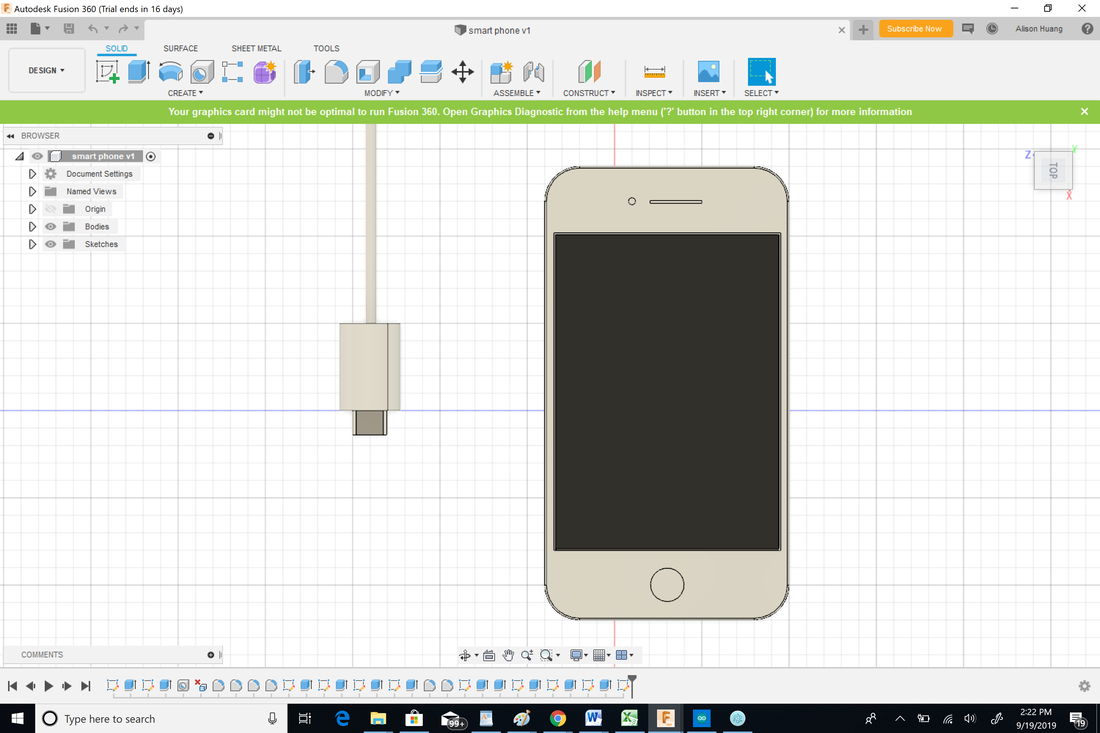 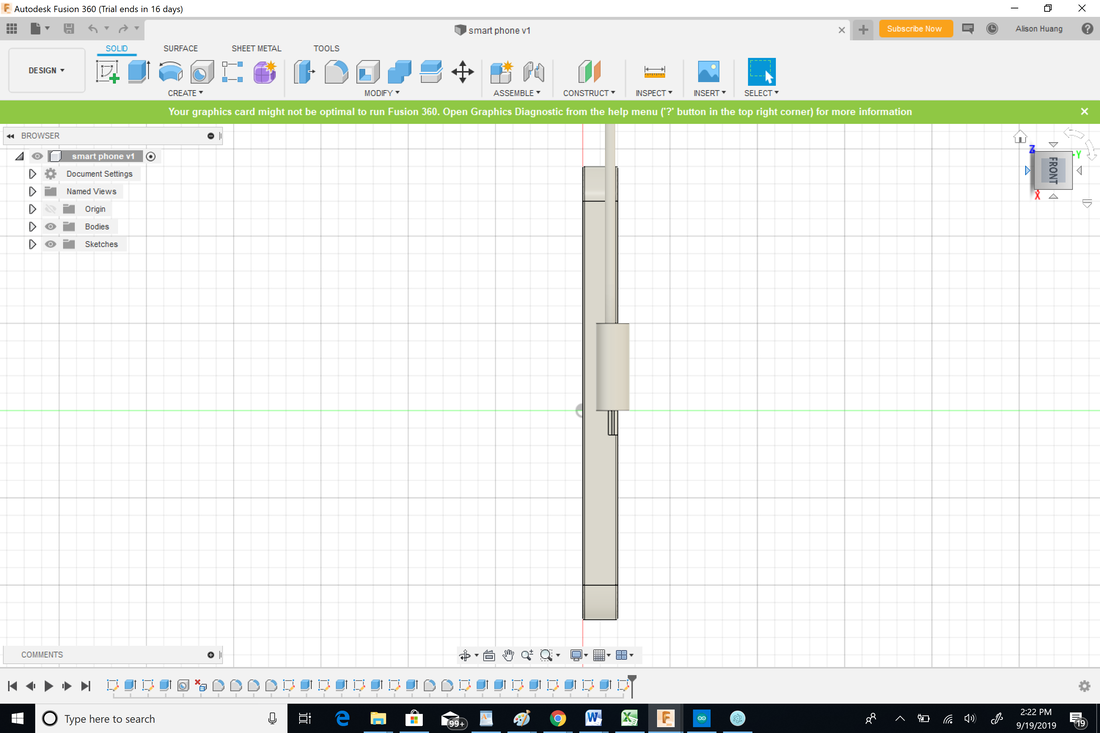 Commands: 1. extrude 2. fillet 3. combine 4. cut 5. offset 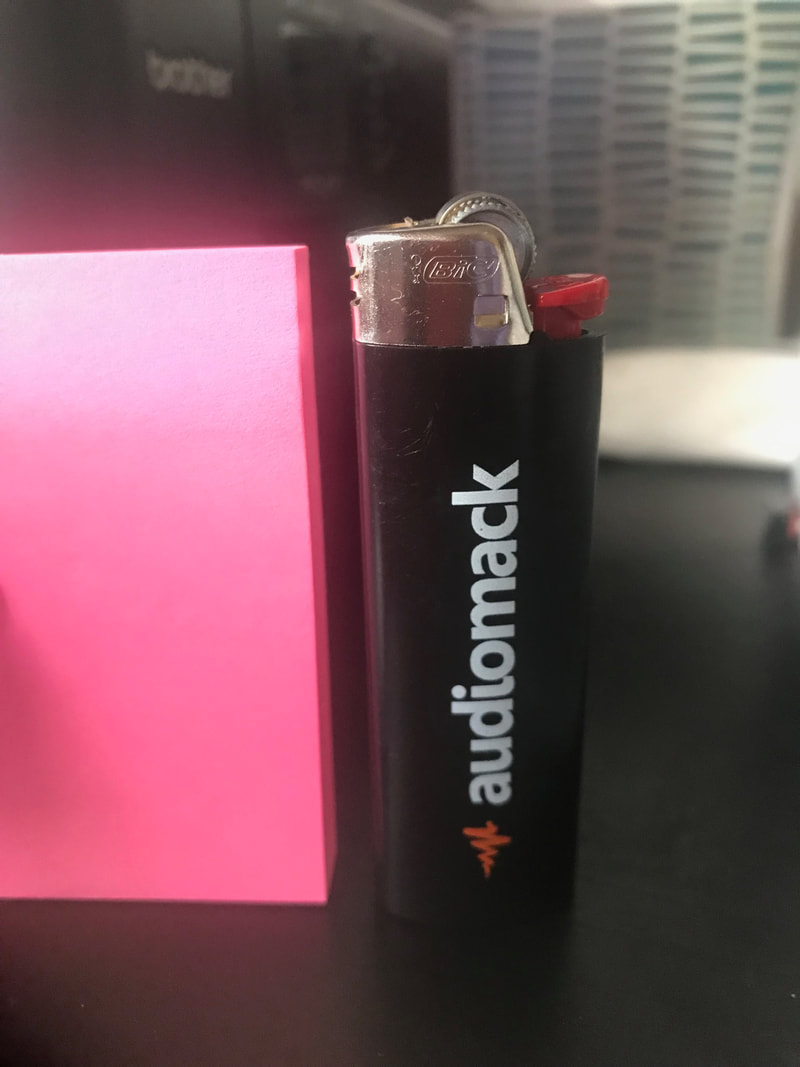 This week I decided to model my lighter. 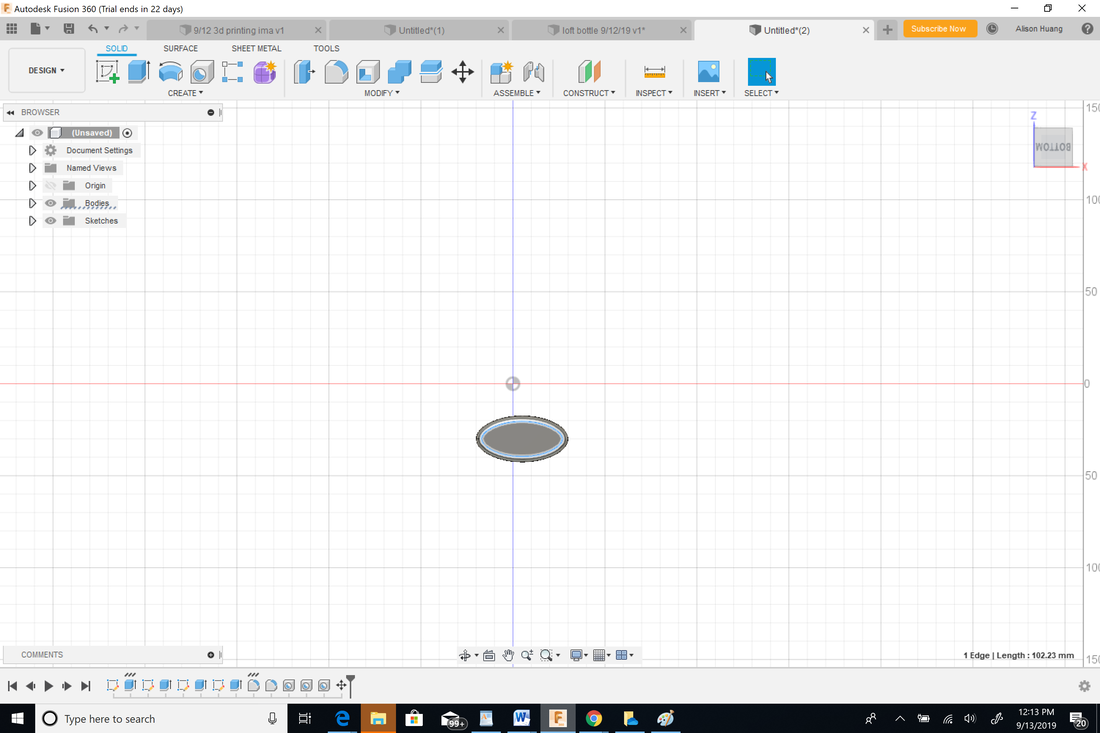 First, I used the create spline tool to sketch out an oval shape. 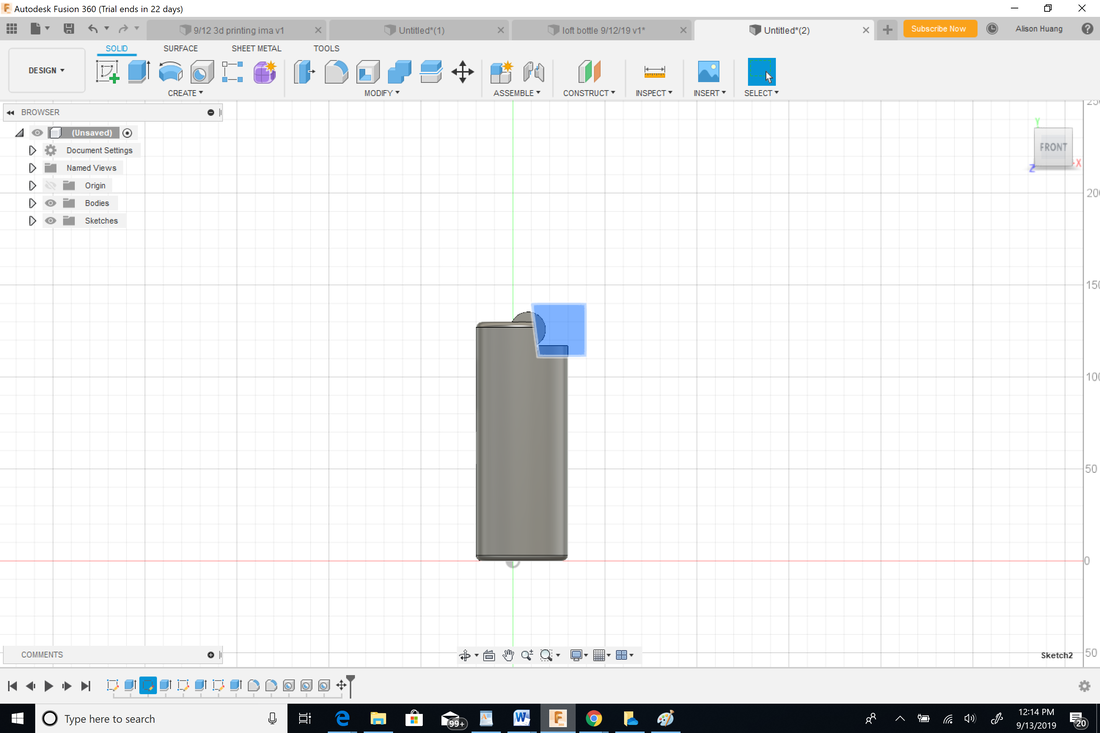 I then used the extrude tool to cut away room for the lighter switch. (The 2 shapes in the blue region were not there at the time) 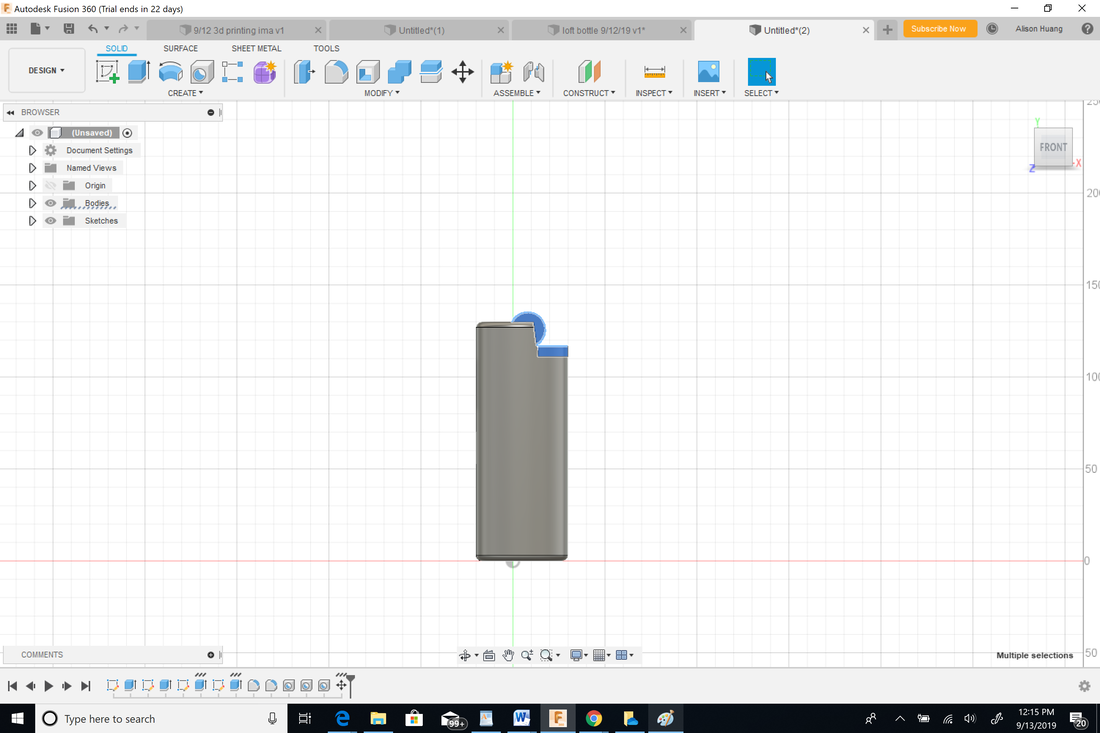 Next, I drew and extruded a circle and lighter switch. After that, I used the combine tool to combine the shapes. 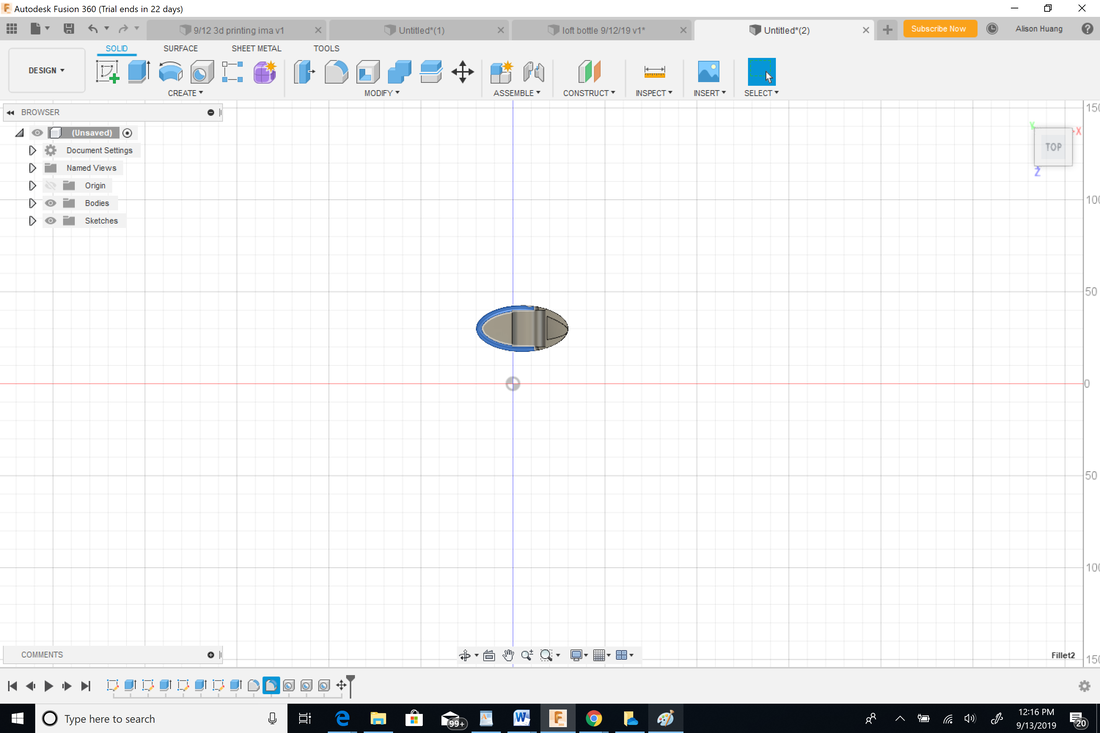 Then I used filet to mimic the curve around the lighter's metal area towards the top. Lastly, I noticed the shapes I had previously combined were placed a little off so I used offset to fix it.
|
AuthorWrite something about yourself. No need to be fancy, just an overview. ArchivesCategories |


 RSS Feed
Photo used under Creative Commons from Unhindered by Talent
