|
This week I decided to make 5 wooden jewelry pendants using plywood, drill press, band saw, and sander. Original Design:  Raw Materials: 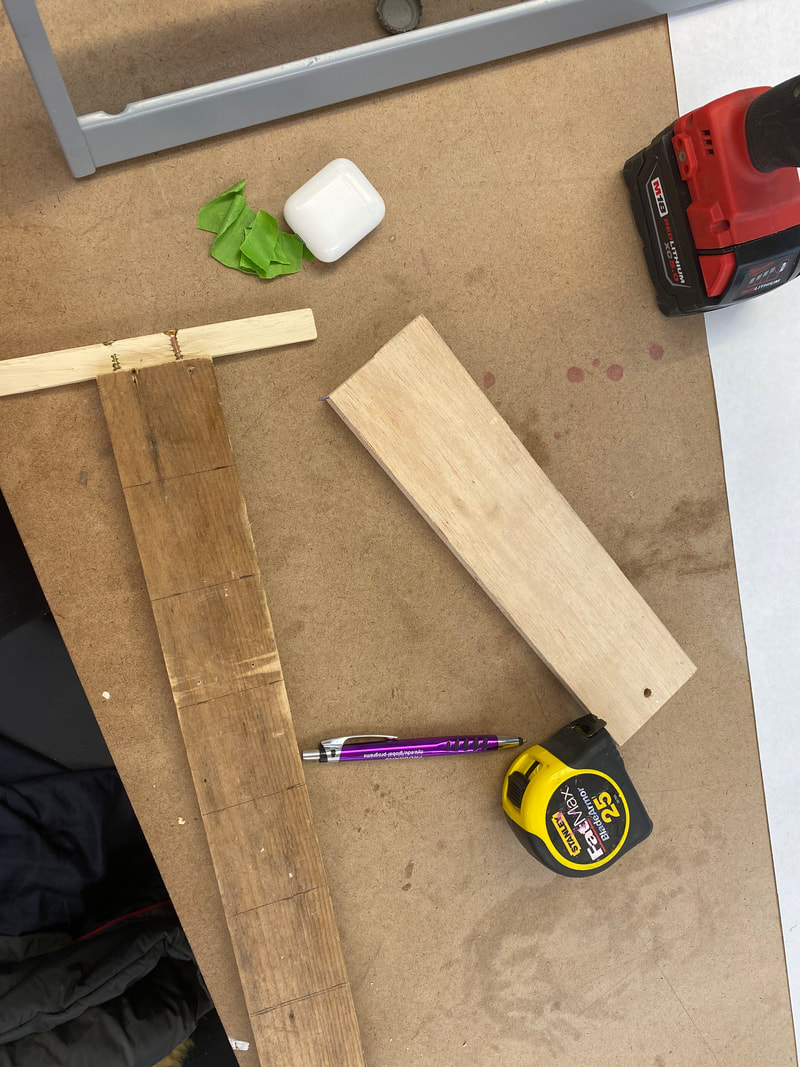 I first started out by screwing a holesaw into the drill press to drill 5 circles out of a piece of plywood I found in the scrap pile. The pieces may be a little tricky to get out of the holesaw-I used a screwdriver. 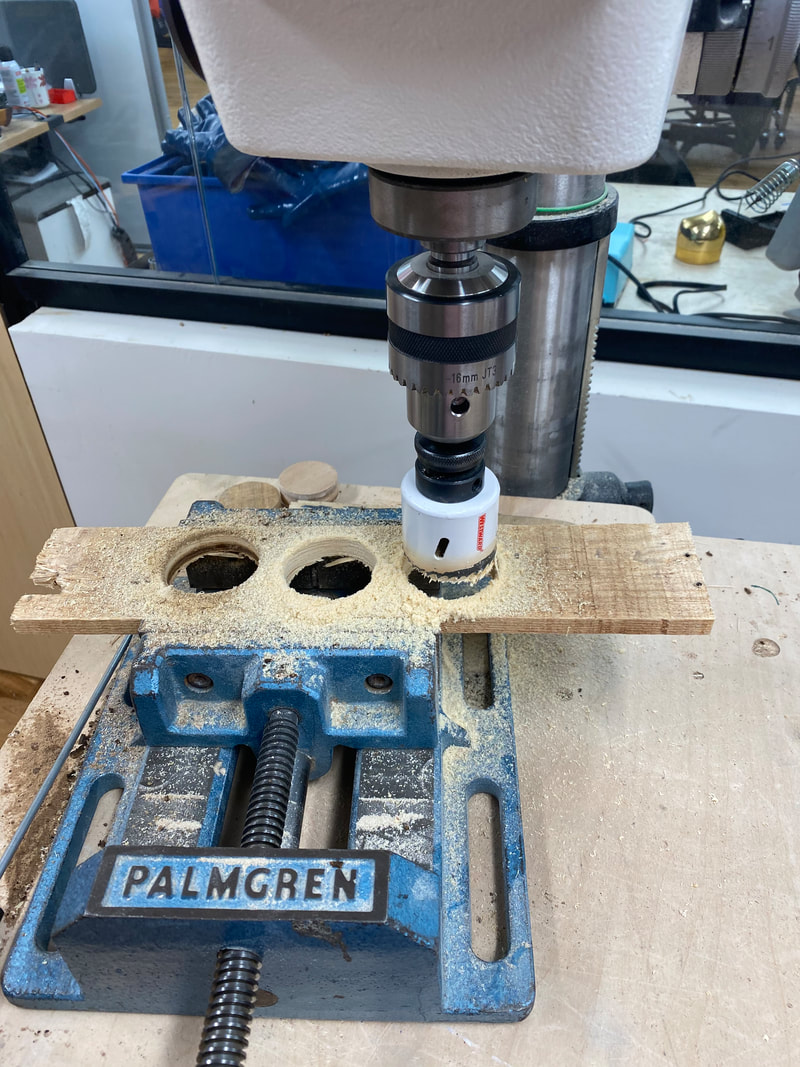 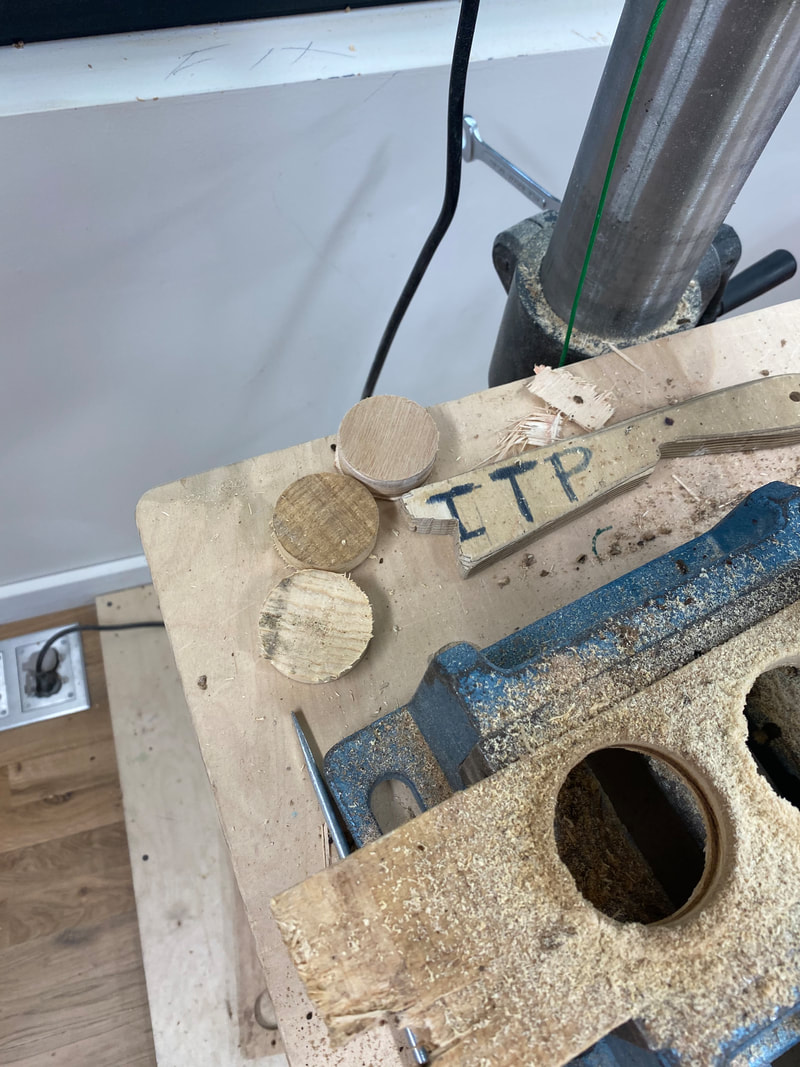 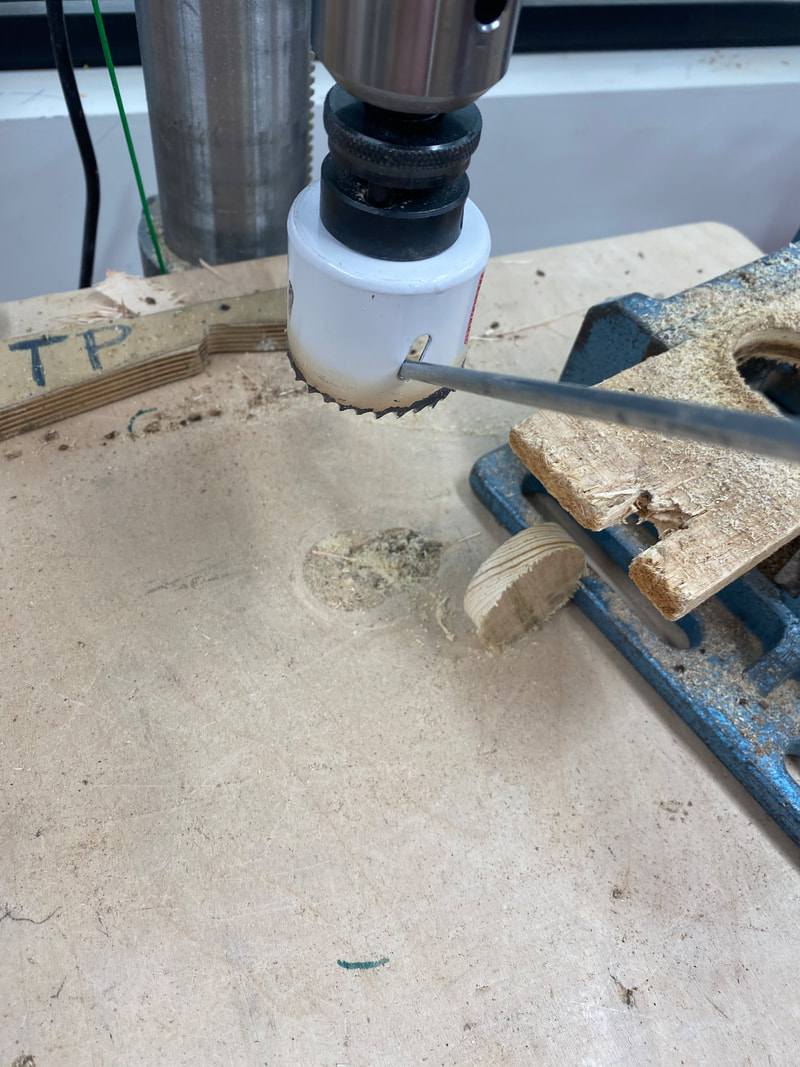 I then loaded another drill bit into the drill press to hallow out an off center hole in the circle piece. 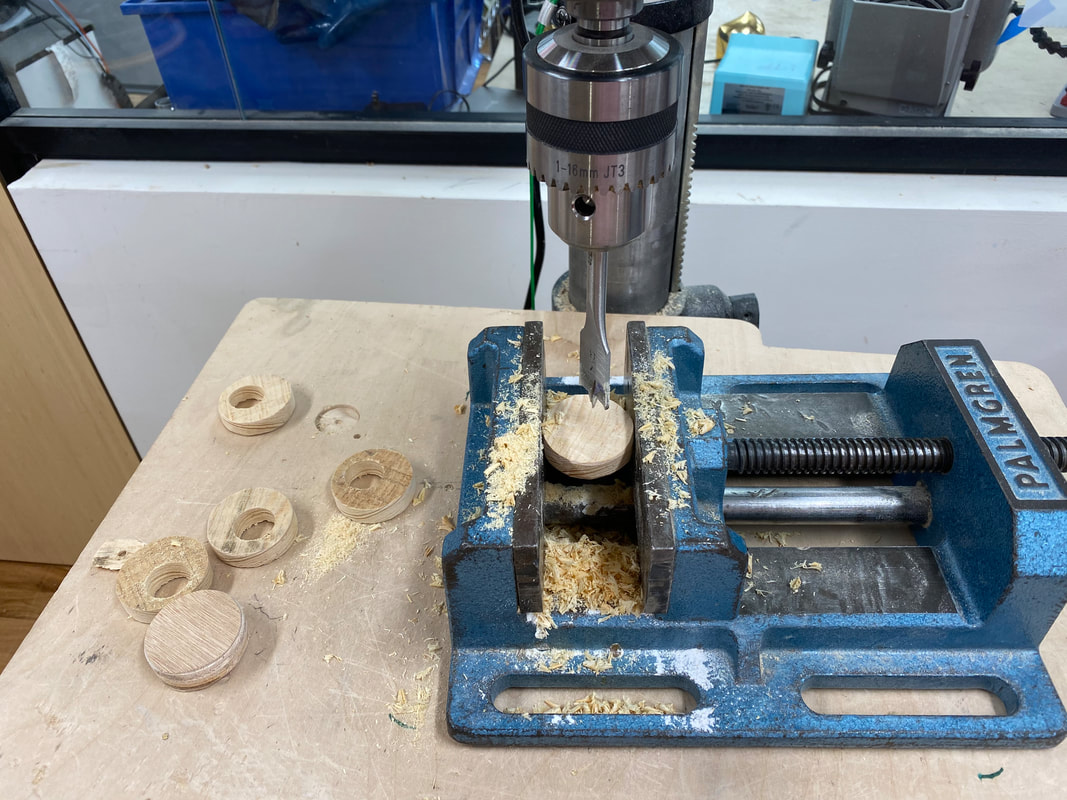 Next, I decided to cut the circle pieces half in width with the band saw because I felt they were a bit too thick to be worn as a necklace. I used a clamp to hold the piece still on the saw. 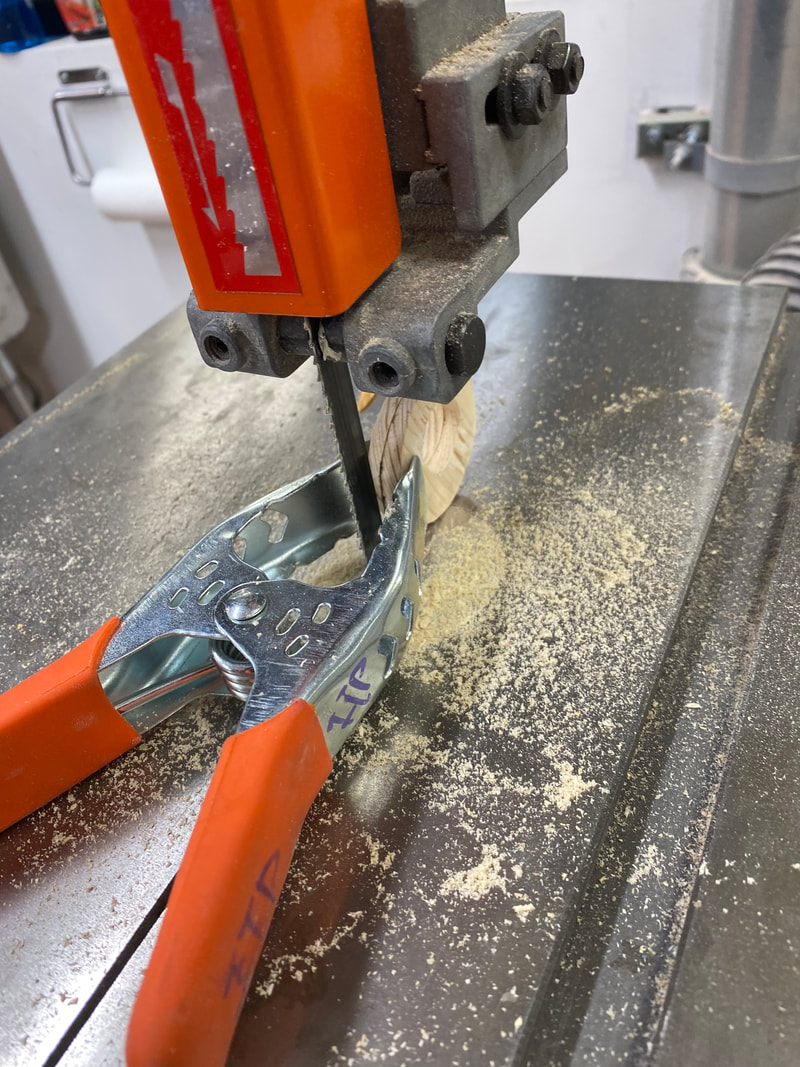  After that, I took to the sander to get a general smoothing. 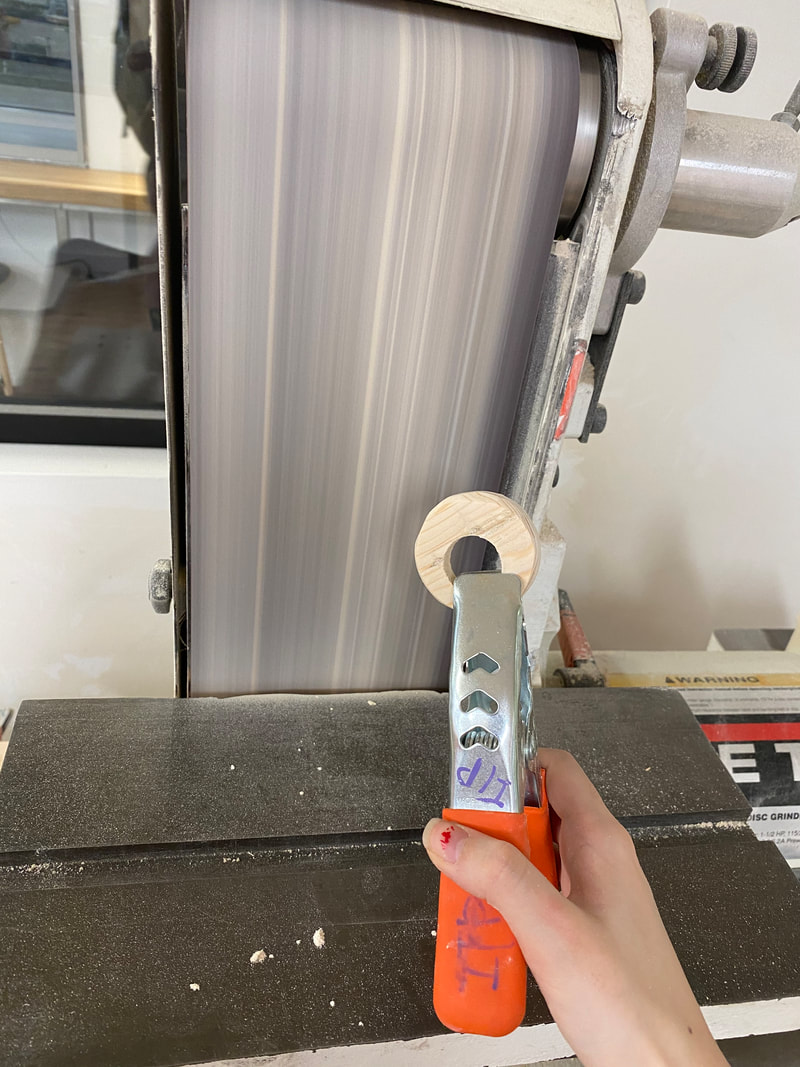 I then went in and hand sanded the piece down more. 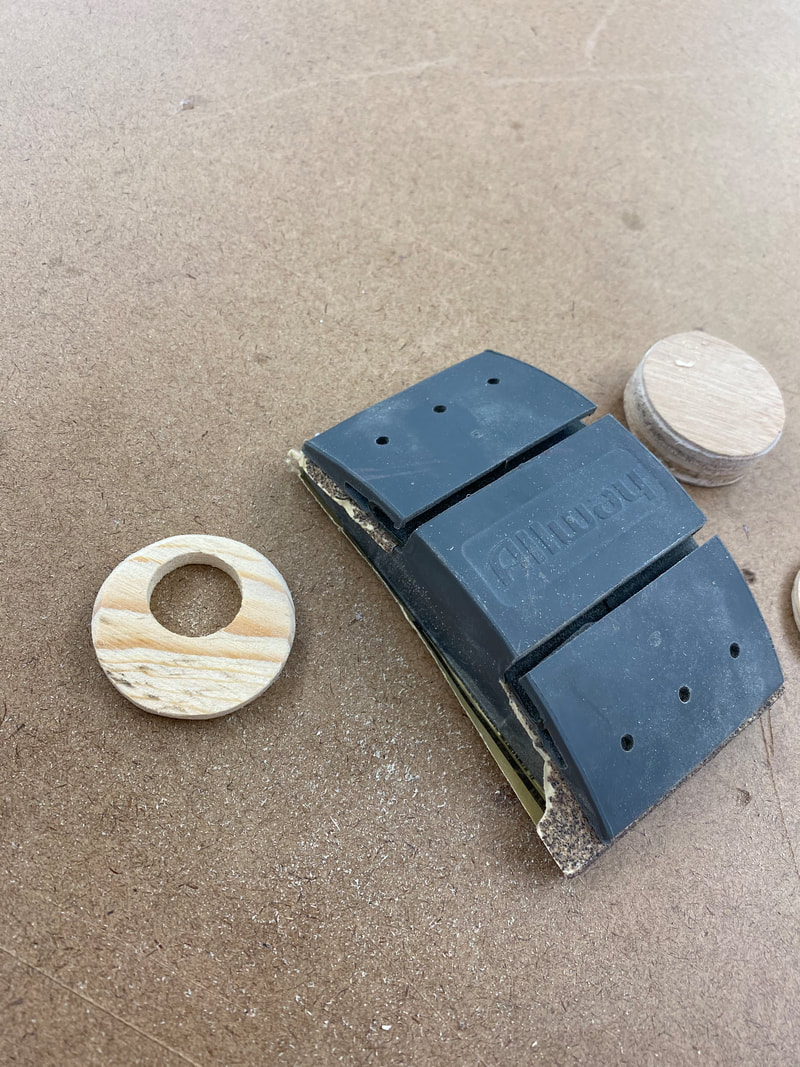 Lastly, I stained the pieces and experimented with different ways of using the pendants as jewelry. Here are the final products! 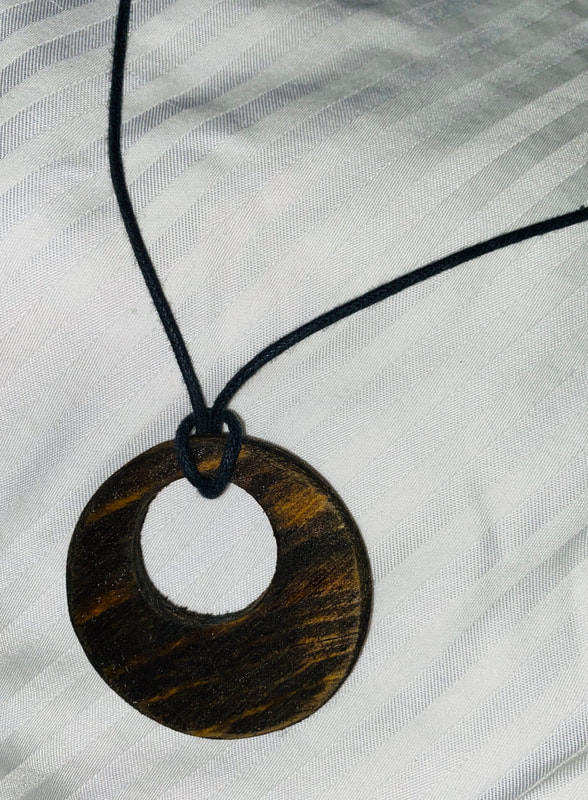 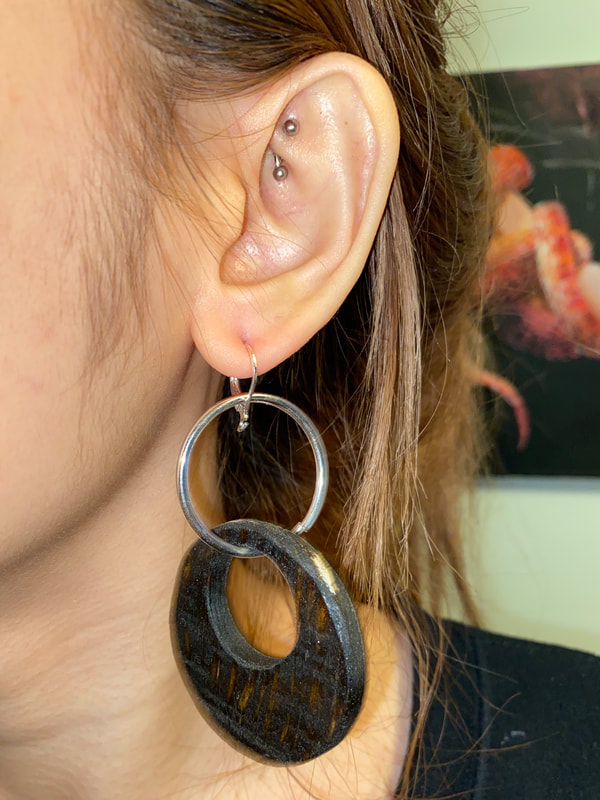 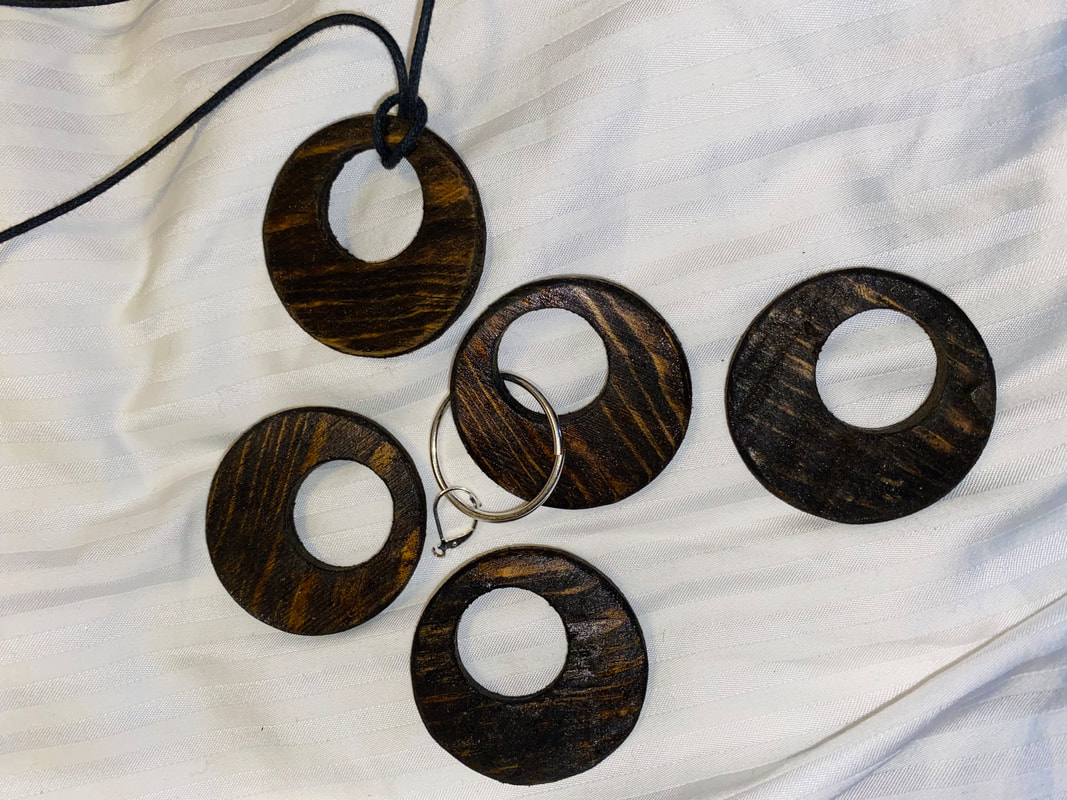 Process/ What I Learned:
It was definitely easier to complete each step on all 5 of the wooden pieces before moving on to the next step. I was originally hand drilling each circle, but thankfully shop staff-Clara-came and told me to use the drill press instead. Stick to hand sanding small items. If you're making earrings, don't forget to drill a hole for the earring piece.
1 Comment
Leave a Reply. |
AuthorWrite something about yourself. No need to be fancy, just an overview. Archives
March 2020
Categories |
 RSS Feed
