|
This week, I decided to make a cardboard Arduino enclosure that fits an ultrasonic sensor and LED. Materials: 4x 1 inch screws 4x bolts (to fit 1 inch screws) 4x 1.5 inch spacers cardboard ultraconic sensor LED First I used scissors to make 2 holes for the ultrasonic sensor to fit. To widen the hole I opened the scissors more and more until my desired size was achieved. I then did the same for the LED. 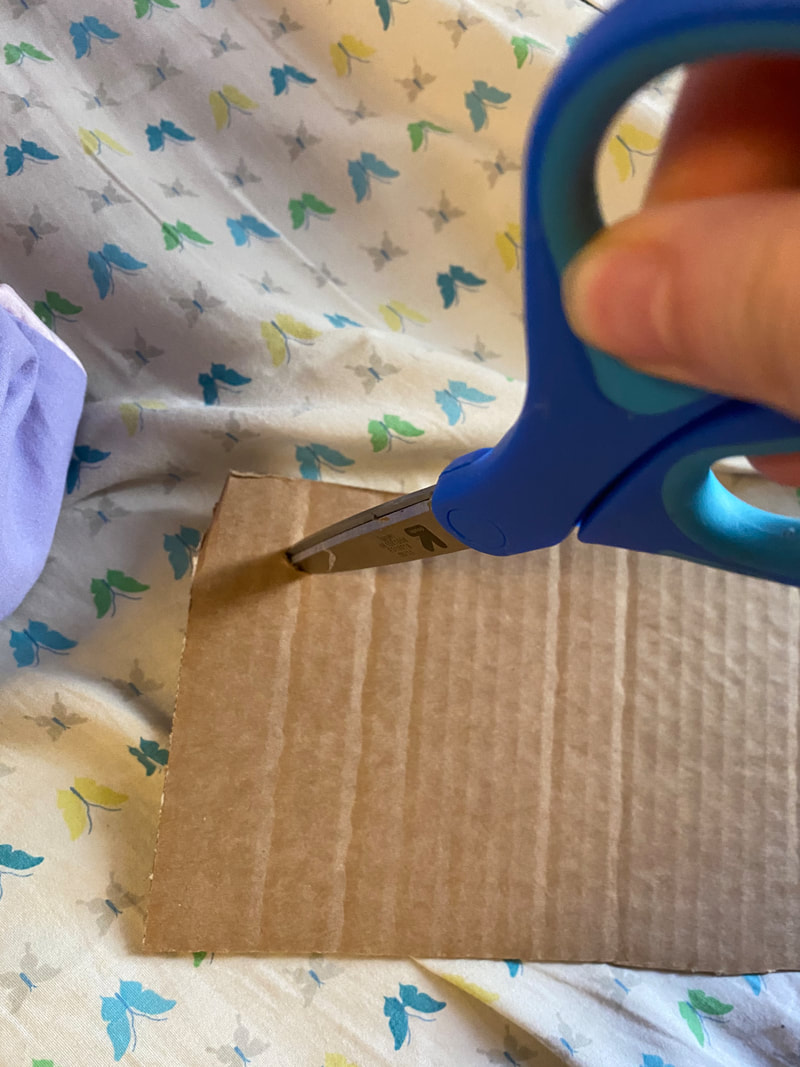 Then I used the scissors to make 4 pilot holes for the screws to go into. 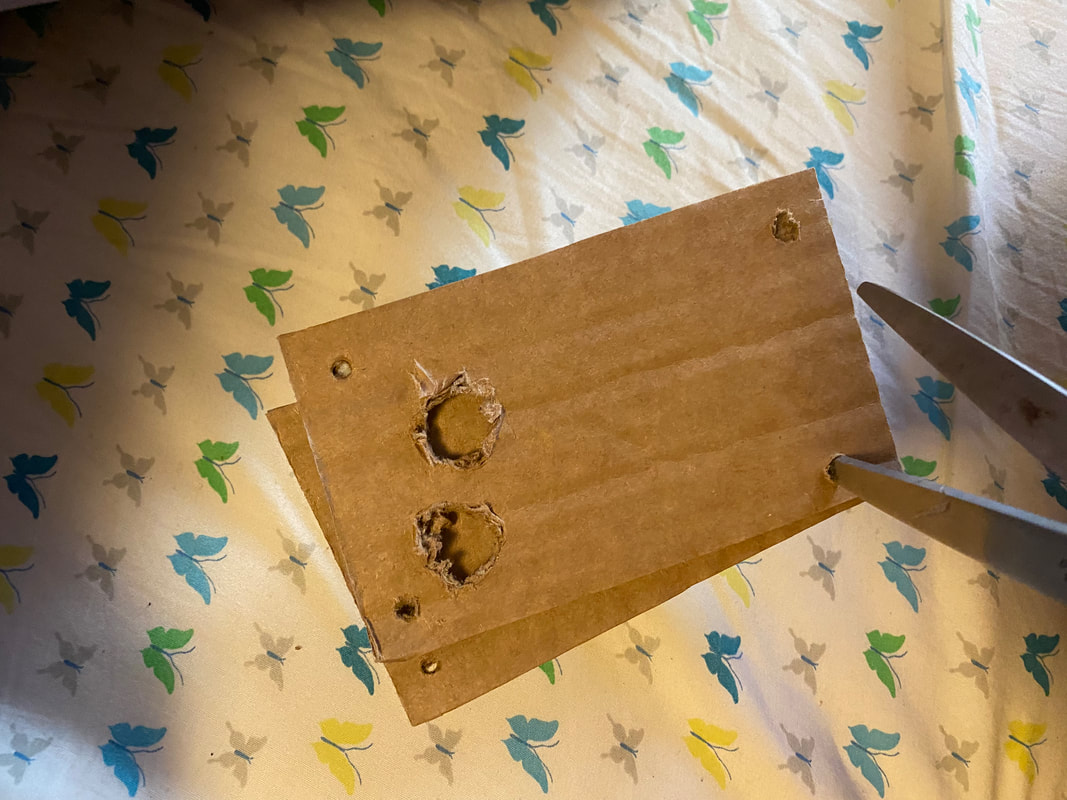 When the pilot holes were made, I placed each of the 4 screws in. I then placed one 1 inch spacer on each screw. Next, I placed the bottom piece of the enclosure on and sealed the pieces together with a bolt on the bottom of each of the four screws. 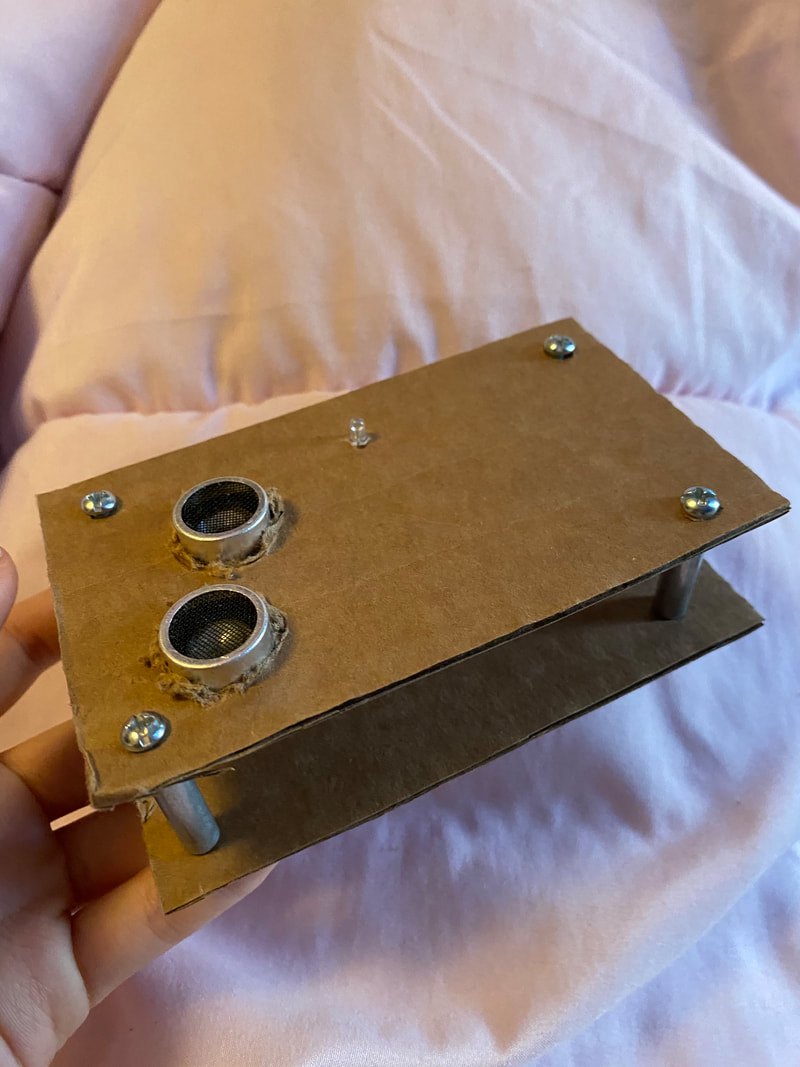 (I forgot to put the LED in the picture below) 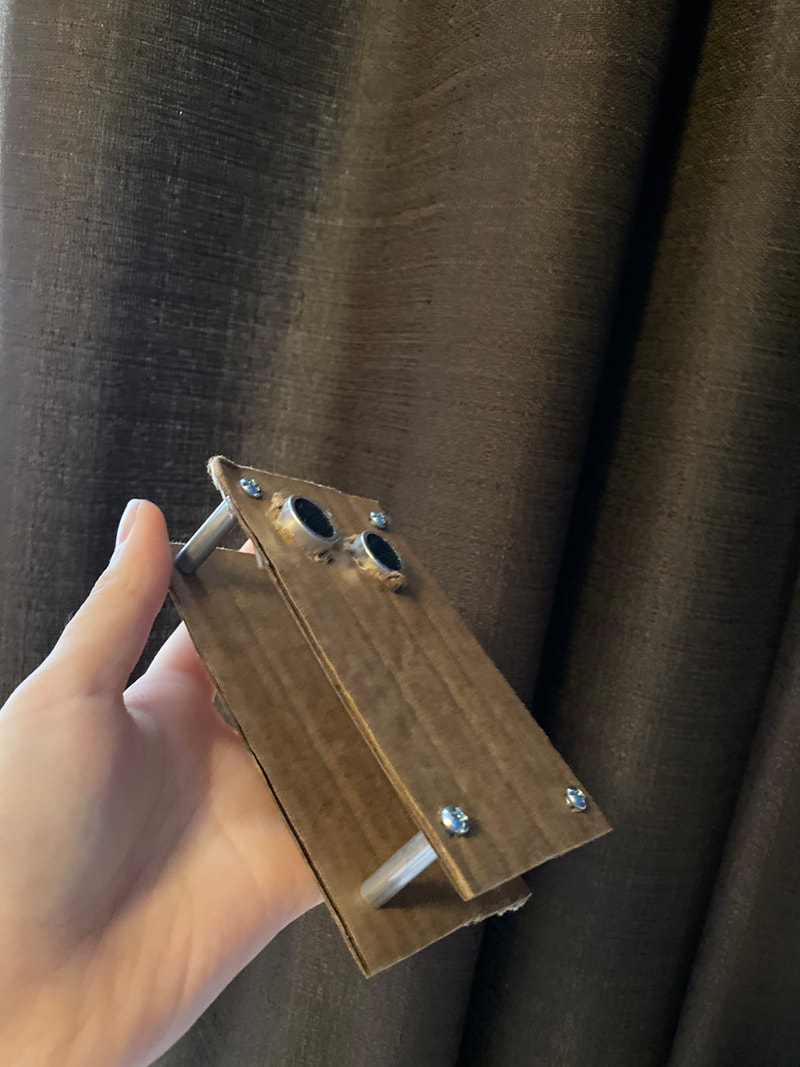 Sadly, I had lost one of my spacers and had to improvise. Instead of having a fourth spacer, I used 2 bolts to secure the last screw. 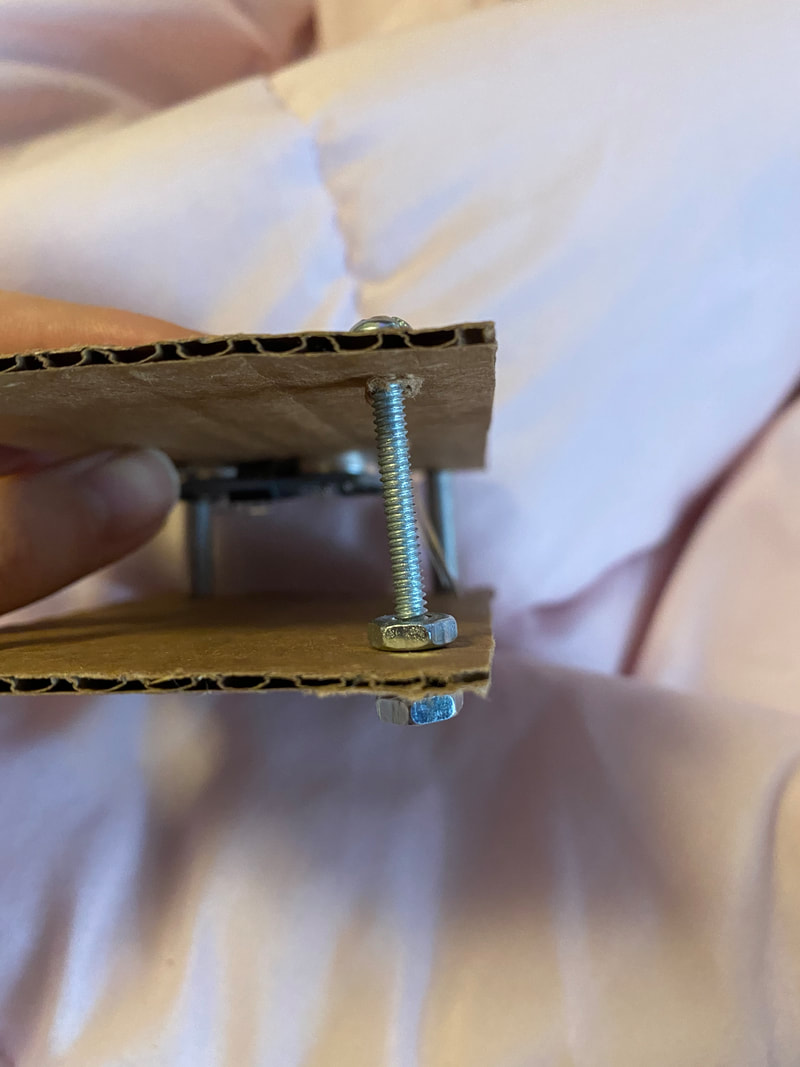
0 Comments
For this week's project, I decided to use the laser cutter and acrylic bender to make a 3D acrylic flower. I started with a sheet of acrylic from Canal Plastics. Then I used Adobe Illustrator to draw out a flower petal. I repeated that same shape 10 times then replicated 4 flowers at 75% scale making a total of 14 flower petals. It may be hard to see because I set it to .1 pt which is required for the laser cutter to be able to read. 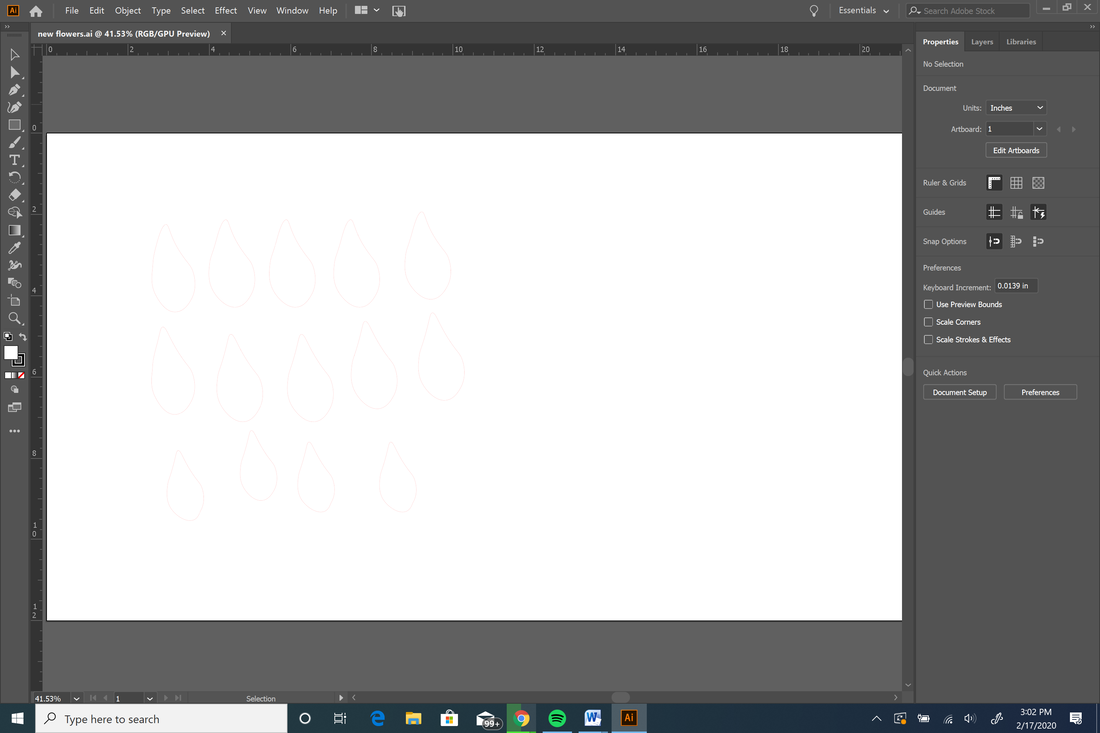 Next, I opened my illustrator file to the laser cutter and began printing! When all the pieces were done cutting, I waited a minute before opening the laser cutter to avoid any toxic fumes. 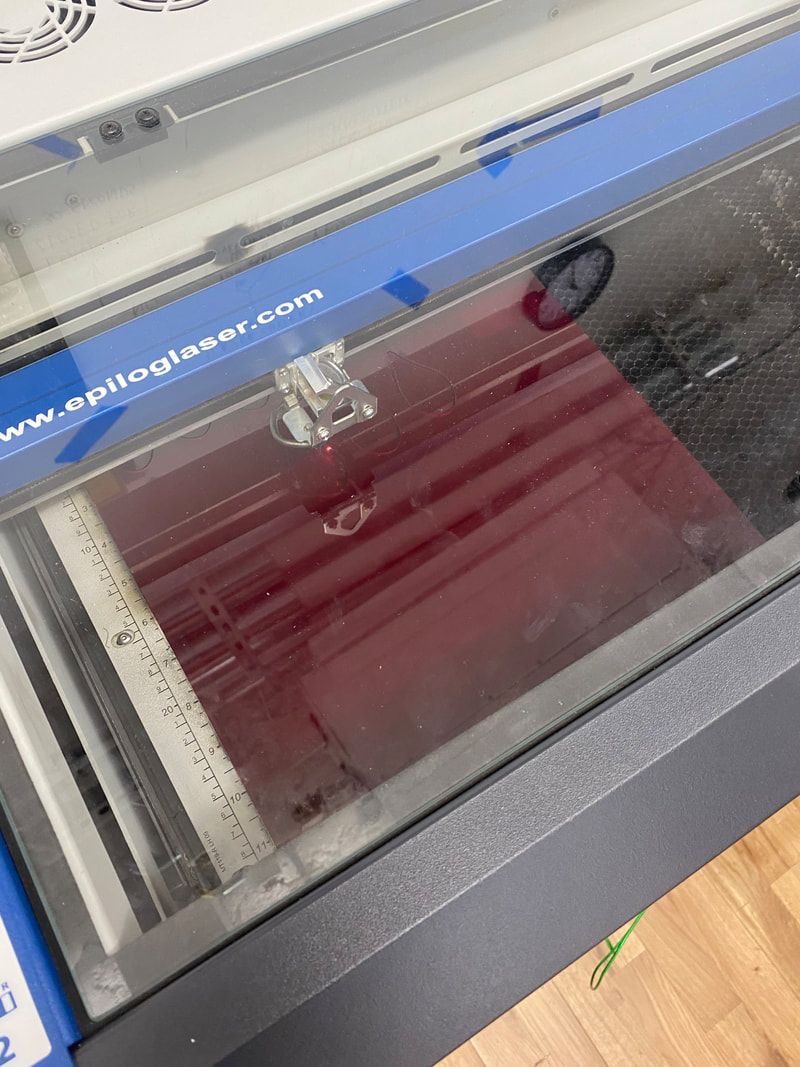 I then used the acrylic bender to bend each petal at about 45 degree angles to make the flower petals. 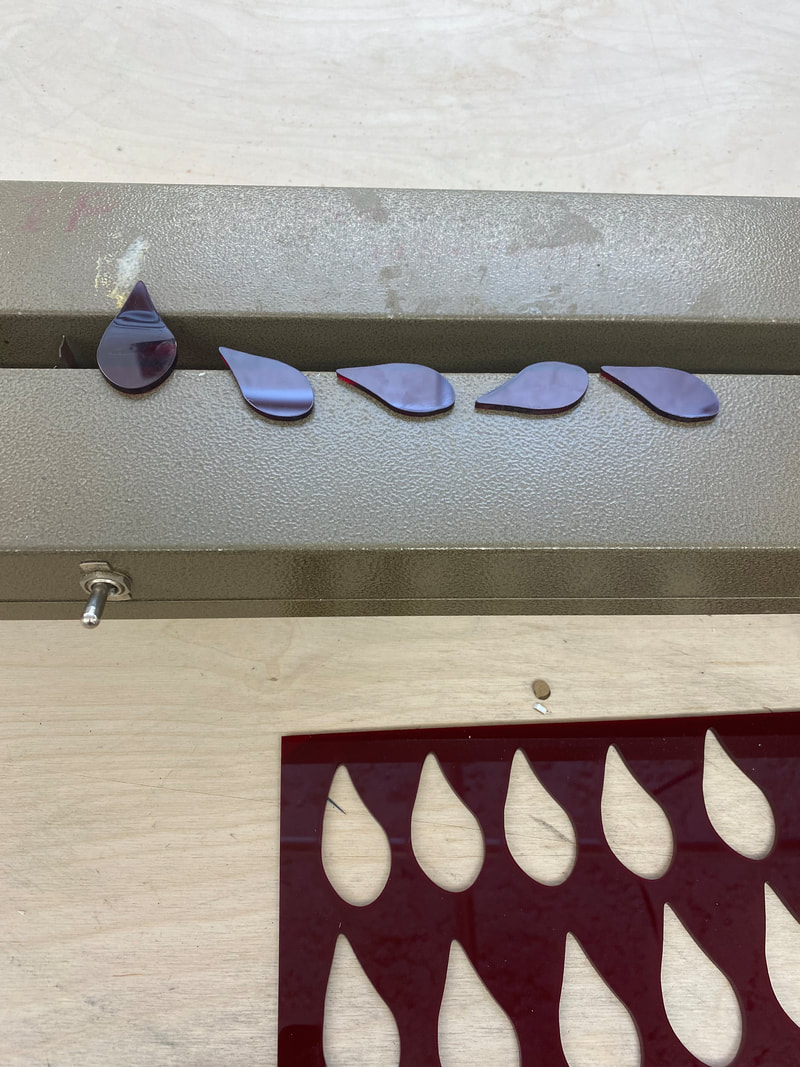 My final step would be to glue all the pieces together, but I am currently traveling and unable to go buy acrylic glue. Here is the final product placed together, but I will be gluing it together this week. 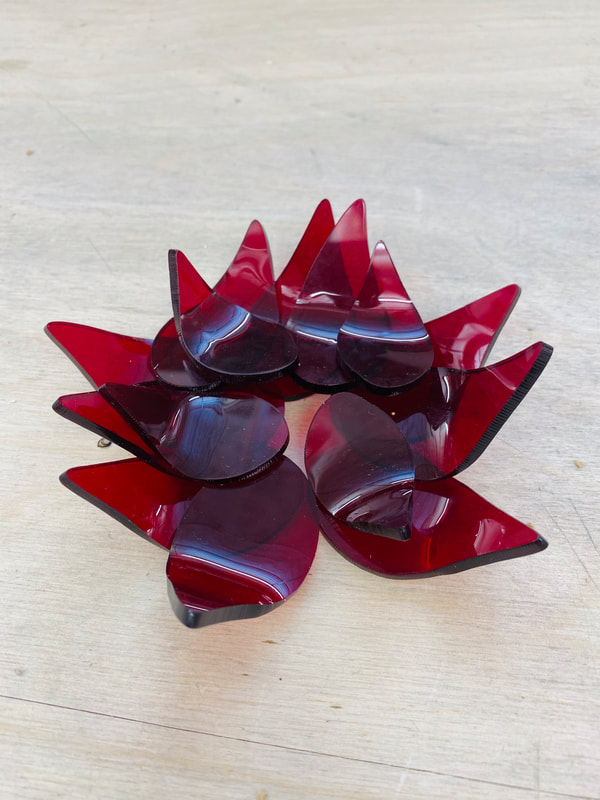 Trials: 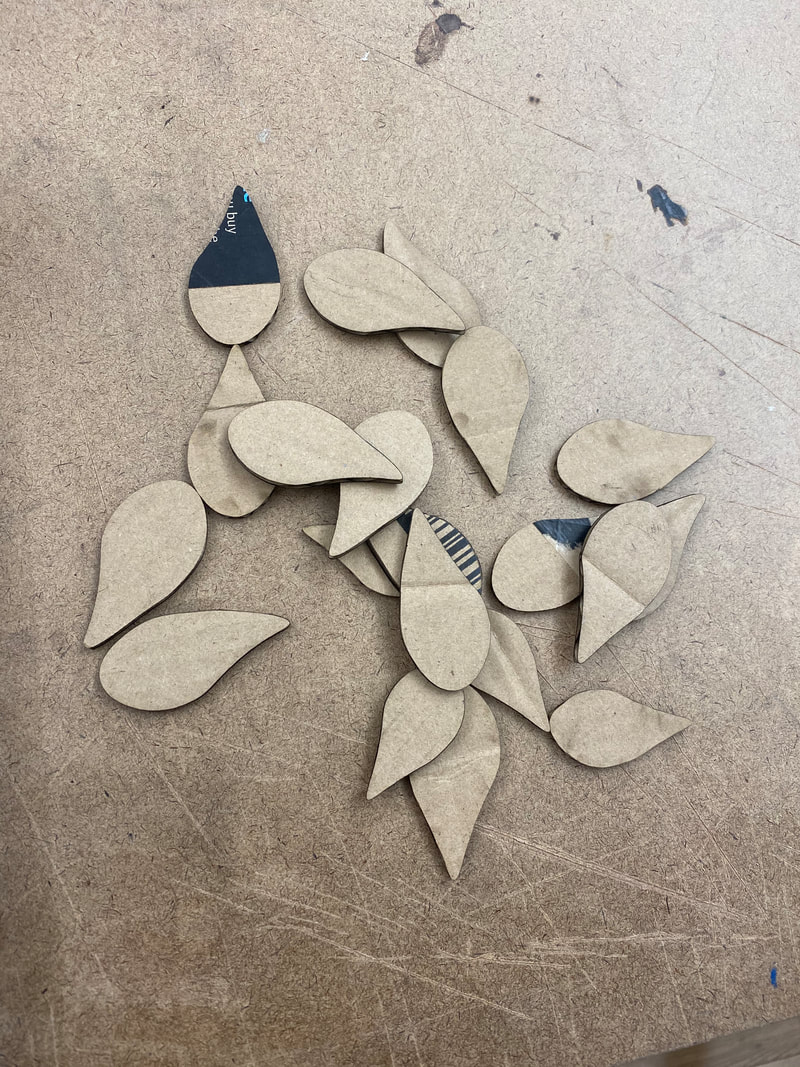 This week I decided to make 5 wooden jewelry pendants using plywood, drill press, band saw, and sander. Original Design:  Raw Materials: 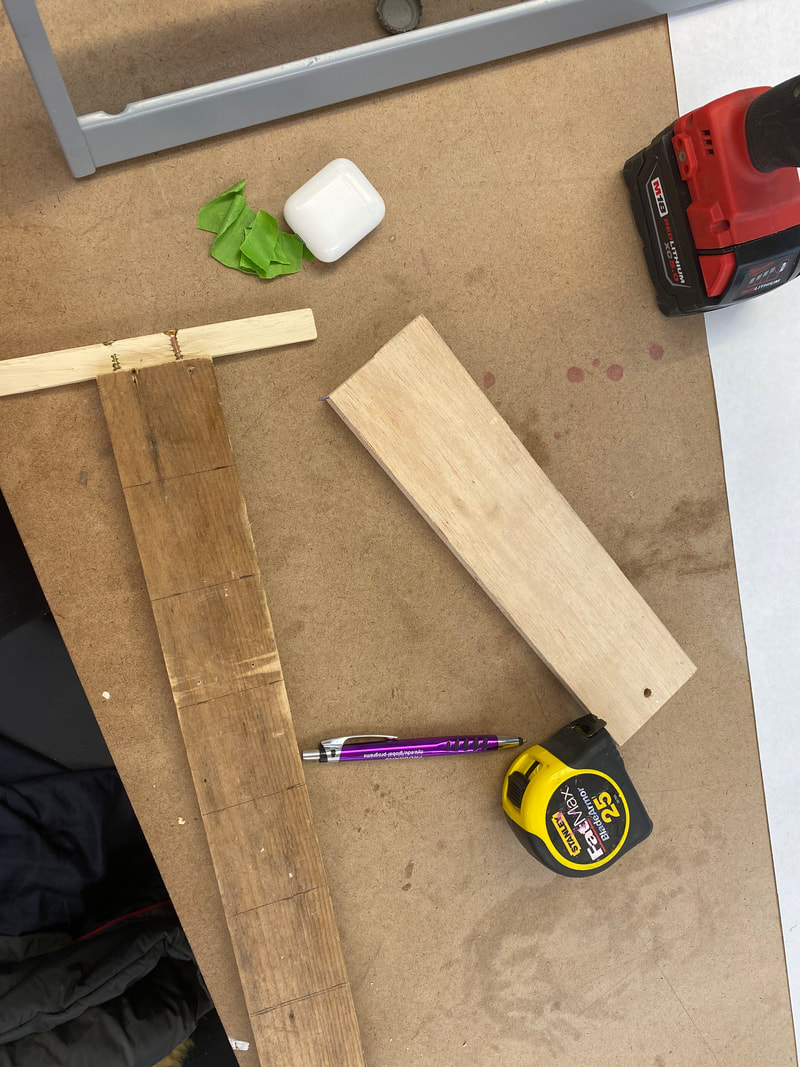 I first started out by screwing a holesaw into the drill press to drill 5 circles out of a piece of plywood I found in the scrap pile. The pieces may be a little tricky to get out of the holesaw-I used a screwdriver. 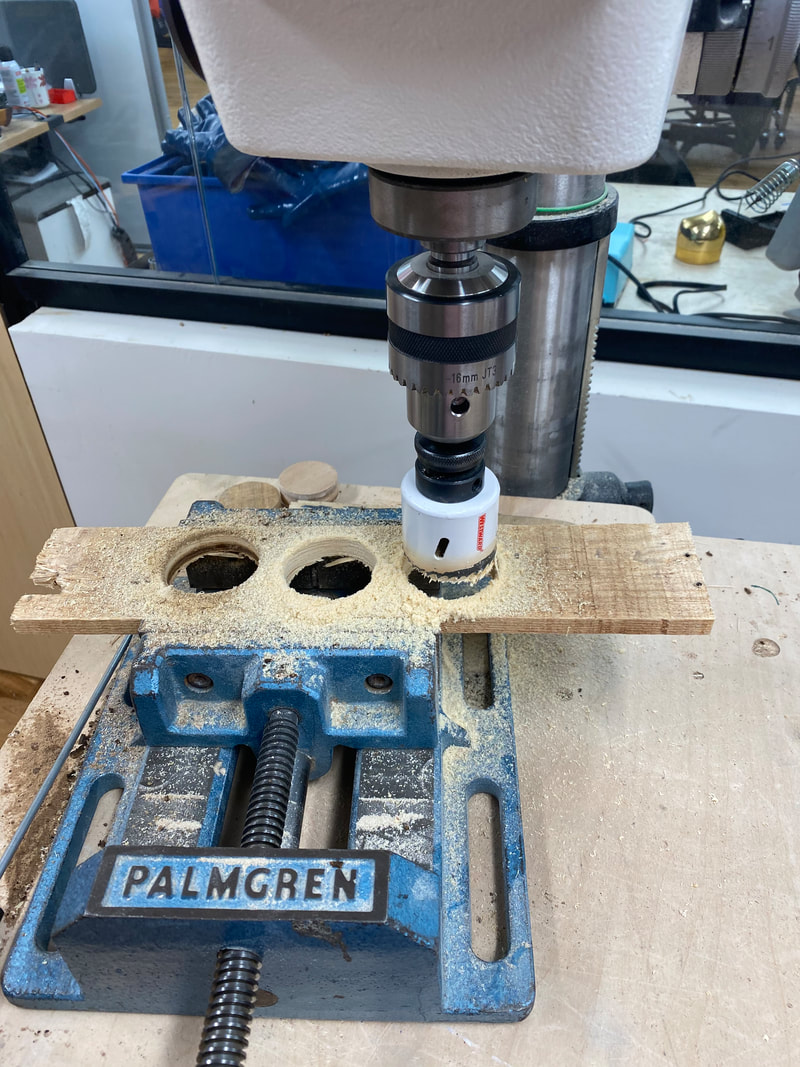 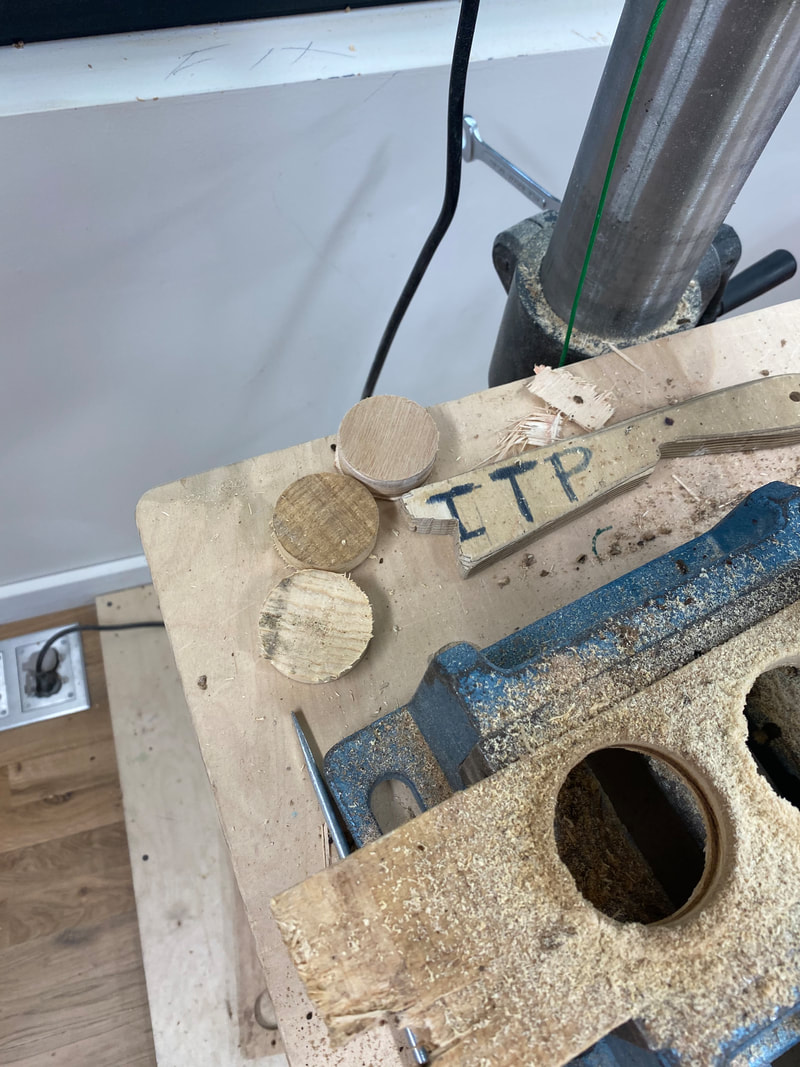 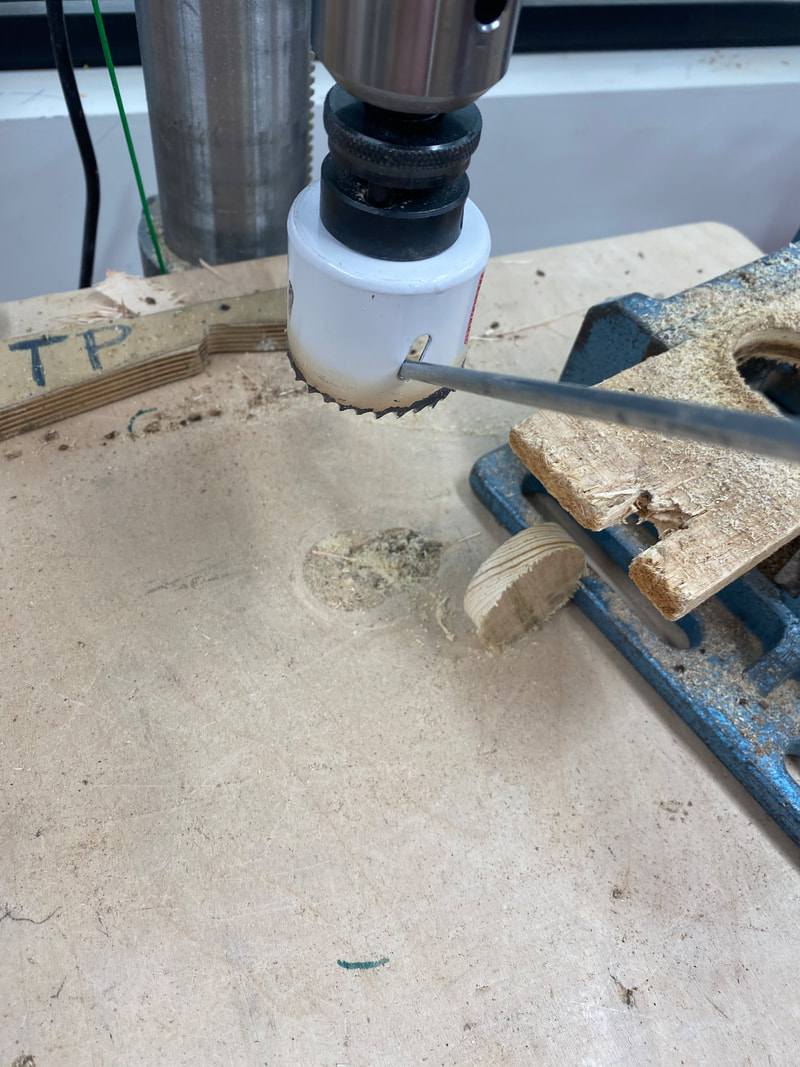 I then loaded another drill bit into the drill press to hallow out an off center hole in the circle piece. 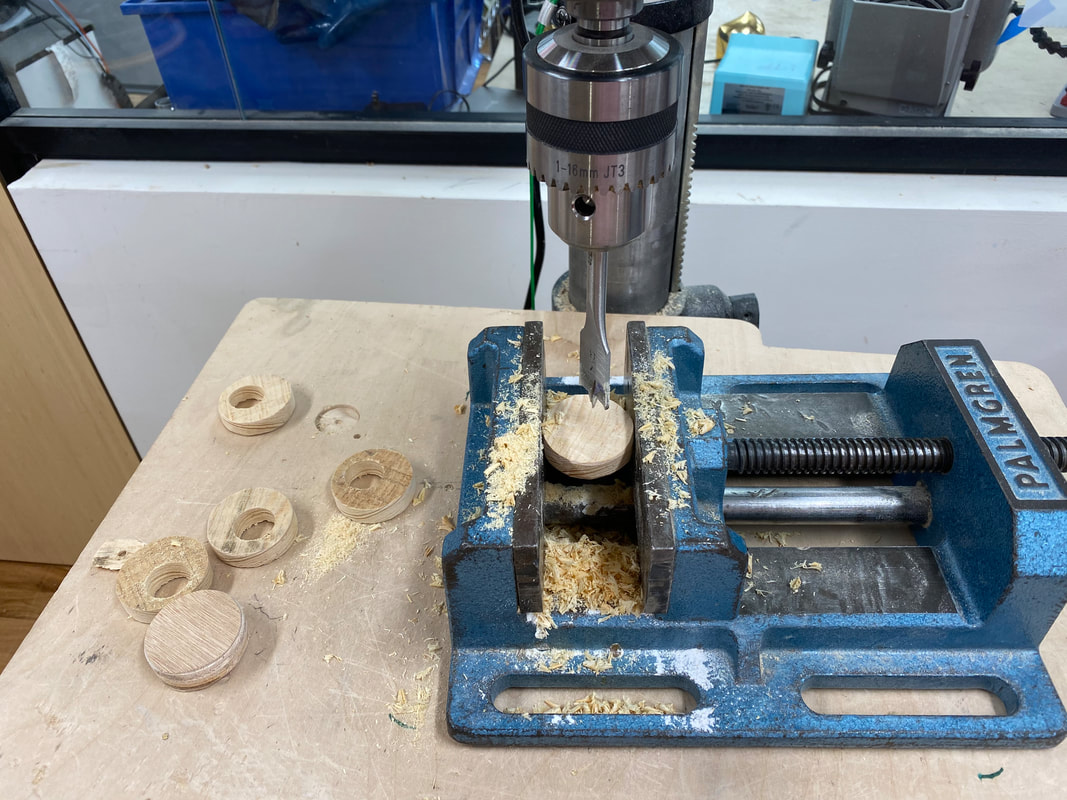 Next, I decided to cut the circle pieces half in width with the band saw because I felt they were a bit too thick to be worn as a necklace. I used a clamp to hold the piece still on the saw. 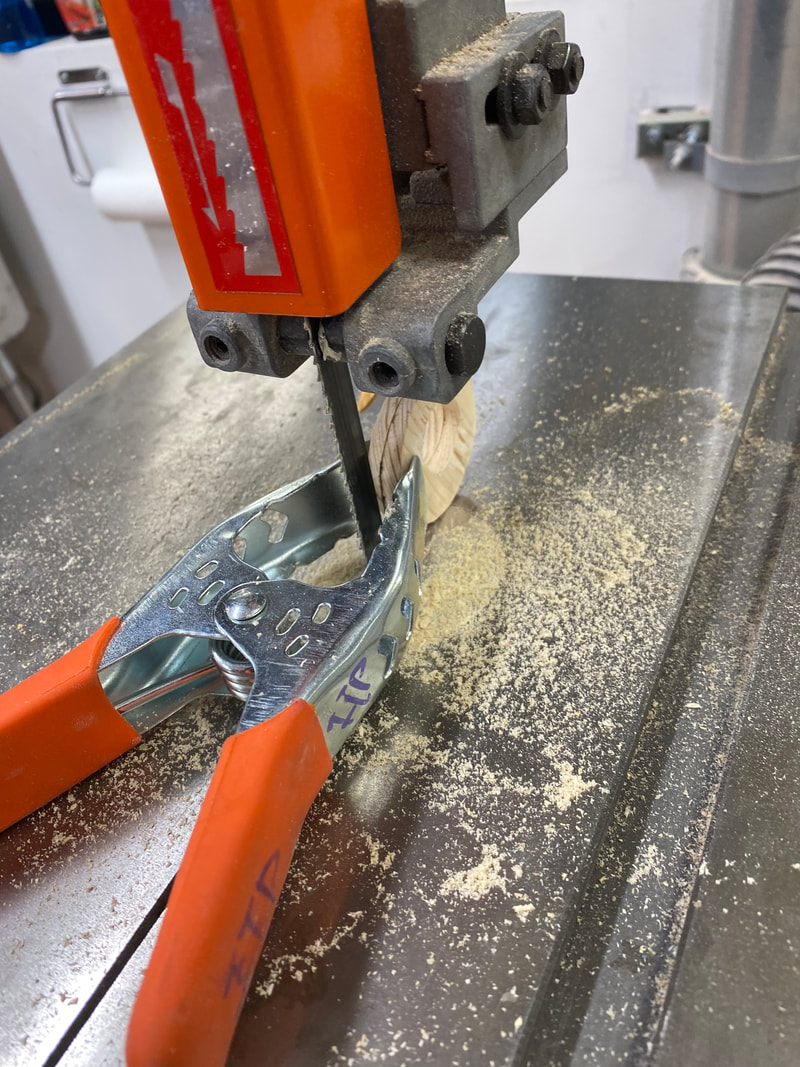  After that, I took to the sander to get a general smoothing. 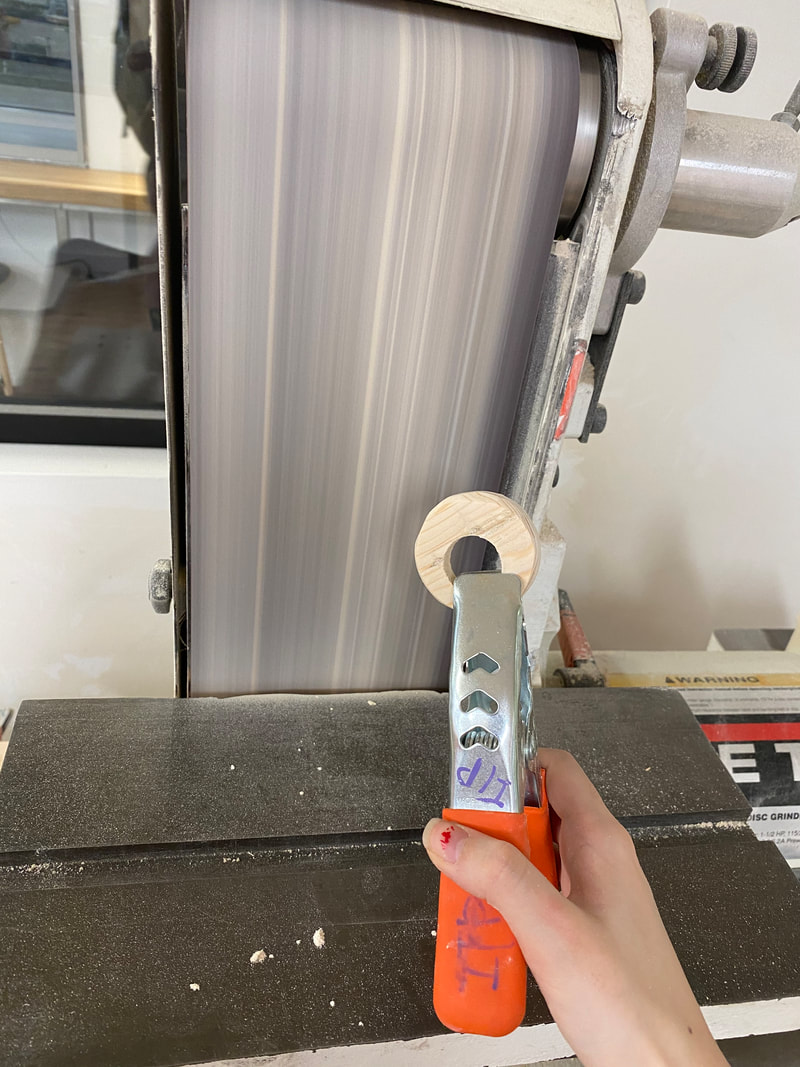 I then went in and hand sanded the piece down more. 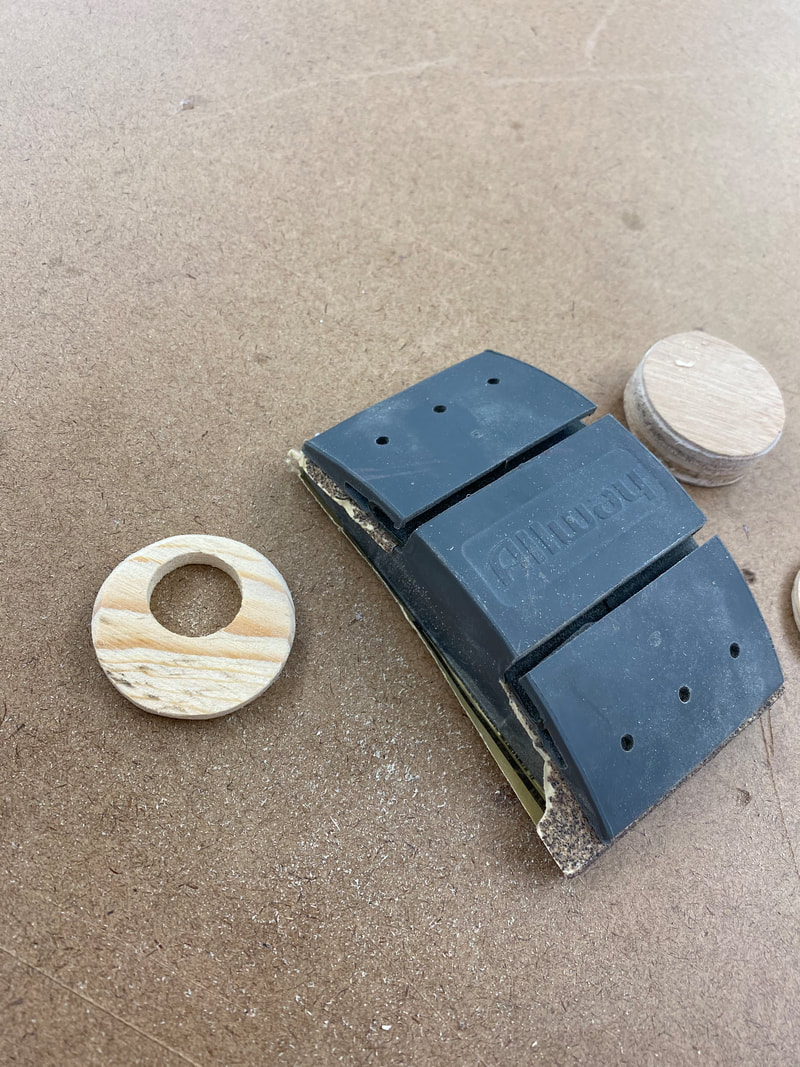 Lastly, I stained the pieces and experimented with different ways of using the pendants as jewelry. Here are the final products! 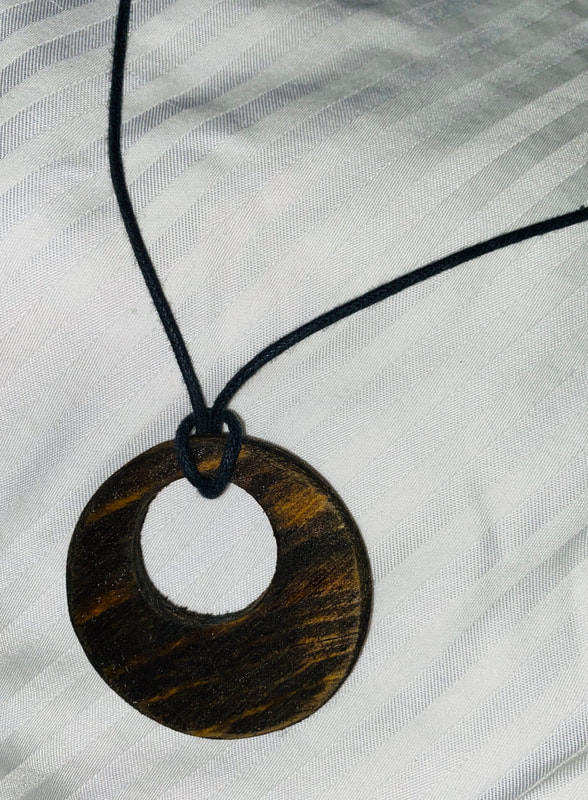 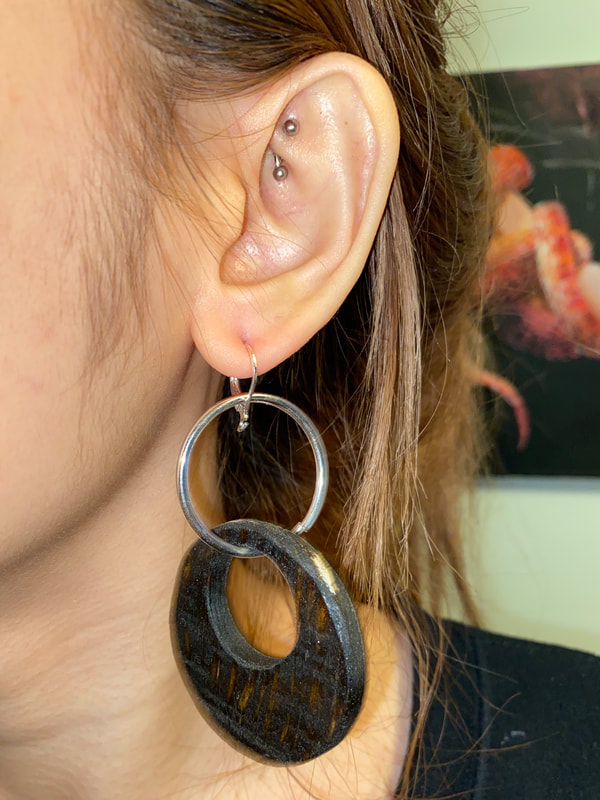 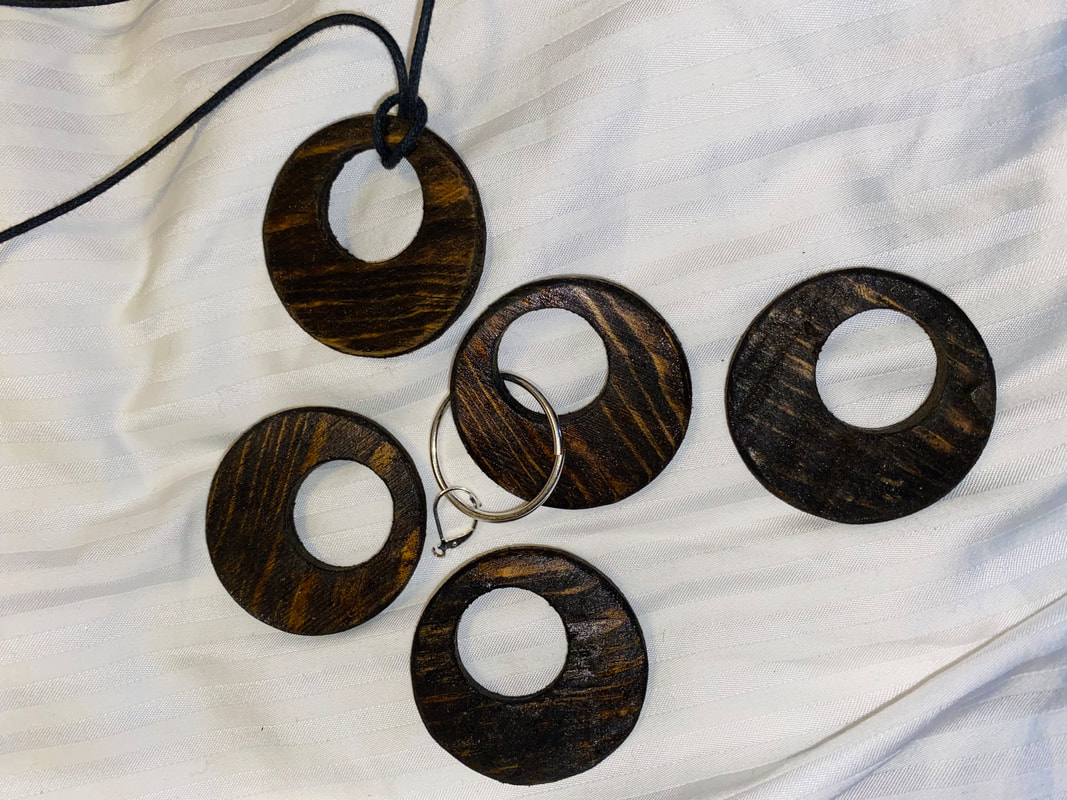 Process/ What I Learned:
It was definitely easier to complete each step on all 5 of the wooden pieces before moving on to the next step. I was originally hand drilling each circle, but thankfully shop staff-Clara-came and told me to use the drill press instead. Stick to hand sanding small items. If you're making earrings, don't forget to drill a hole for the earring piece. |
AuthorWrite something about yourself. No need to be fancy, just an overview. Archives
March 2020
Categories |
 RSS Feed
